Monday, 22 September 2014

Mixed media Journal Page

Hi it’s Brenda back again today and I am sharing a mixed media piece with you with lots of layers. 

When I began I didn’t have an end product in mind other than it might turn into a card or a journal page, just depended in what direction I went.
P1180556
I have used autumn colours as these are what I am beginning to see from my workroom window.
I began by using a palette knife to smear on gesso and rusty hinge distress paint and let it dry (I am impatient so I tend to use a heat gun lol).
P1180541
Next a adhered some bits of music tissue paper and then dabbed and daubed rusty hinge distress stain over it and I also dipped into the distress stain which I had put onto my craft mat and spritzed with water.
P1180542
I went back to the gesso for the next layer and this time used a piece of kitchen roll to dab it over.
P1180543
Again when dry, I dipped all of into gathered twigs distress stain this time. When it was dry I sprayed it with a gloss varnish to seal these layers in. (Don’t forget distress products react with water so anymore layering with inks or paints will blend with the layers you have created and you will lose their definition).
P1180545
I wanted to add more colour at this point so I smooshed mustard seed distress paint on my craft mat, spritzed it with water and dipped the card in and dapped off alot of the paint, just leaving enough to provide more of a glow to the colour range.
P1180546
Now I added some gesso to lighten it all again.
P1180547
Then dipped and dripped with the rusty hinge distress stain.
P1180551
I die-cut some trellis framework, dipped it in the gathered twigs stain and cut it to form a pattern across the card.
P1180553
I added a sentiment, but this is when I knew it was going to be a journal page as I had to embrace imperfections here with the stamping.
P1180554
I finished off by adding some of the framework inserts edging them with walnut stain and then giving some of them a shadow using a pastel pencil.
P1180562
I am rather pleased with this one, I really like the effects of all the layers.
P1180560
Thanks for stopping  by today to take a look at this project and if it inspires you to have a go at all the layers do let us know.

Enjoy the week.

hugs Brenda xxxx

Saturday, 20 September 2014

Secret garden poppies…

I was lucky enough to attend a PaperArtsy training day recently with some of our DT and it’s completely re-awakened my love of stencilling. Today’s project is fairly simple but very effective…


I starting with a square of white card, a brayer and autumnal coloured PaperArtsy Fresco paints of Toffee, Butternut, Haystack and Smoked paprika to make the background:


This stamp of Lin Brown's makes a gorgeous background feature when stamped with Snowflake Fresco:

Layered texturing has been created with these Ellen Vargo stamps and theFresco paints to get this result:


The background so far, mounted:

A scrap of cardboard packaging painted with Haystack Fresco makes a great base for the stencil:

Hey pesto Fresco has been stippled through the stencil and allowed to dry. Then the poppy pods are added using the Smoked paprika. That too has to dry before adding the shading of Claret Fresco:


Having decided that the feature would be set to the left of the card, I used the stencil text to add a focal point bottom right using black DI applied with a blending tool:

Card centre:

Text:

Left focal point:

Complete:


A big thank you to Susan for inviting us to go and to Leandra, Lin and Jo for a fab, fun day!

If you haven't done any stencilling recently folks get them out, dust them off and see what you can do - great fun! >:o)

Thanks for stopping by, have a great day!

Chris xxx


Thursday, 18 September 2014

Tim Holtz dies: not just for grown-ups

This month my little boy and his two best friends turn 3 years old, a fact I'm struggling to get my head around! The first of the birthdays was for a little boy who loves diggers, so I made this textured muddy building site scene, complete with brick wall.


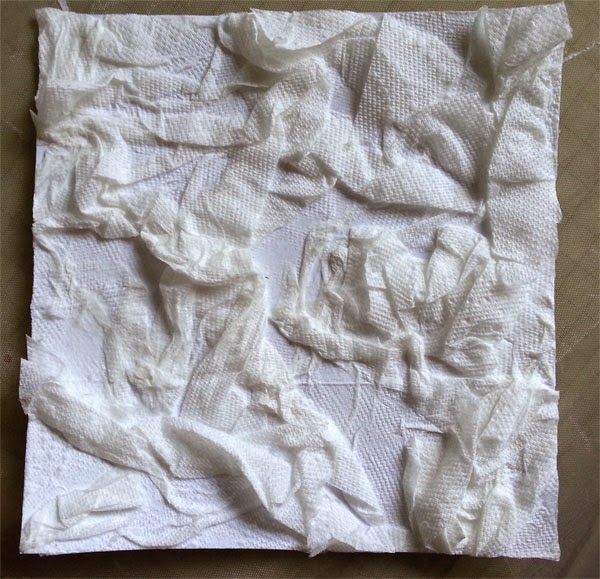
First I separated a kitched towel into layers, scrunched it up and stuck to plain card with PVA glue.


Then I painted it with two colours of brown chalk acrylics, blending them on the project, to make a nice mud effect.


Next I cut a brick wall from thin grey card using a Tim Holtz decorative strip die. Taking care to keep all the pieces in place, I stuck the wall to plain card. I coloured each brick with a mixture of red, orange, black, and brown watercolour pencils, then blended with a self-moistening brush.


I made a landscape stepper card from two A6 card blanks. I cut a wavy edged section of the 'mud' off to cover the short step and stuck in place. I put the remaining 'mud' onto the back step of the card. As the 'mud' is quite heavy, I added folded card bracing strips to the sides to make sure the card would stand up properly:


Finally I cut out sections of the brick wall and added these to the short step using foam pads, then added a selection of diggers etc and a greeting.


Thanks for visiting and happy crafting!

Amanda x