Tuesday, 28 October 2014

An invite to Halloween

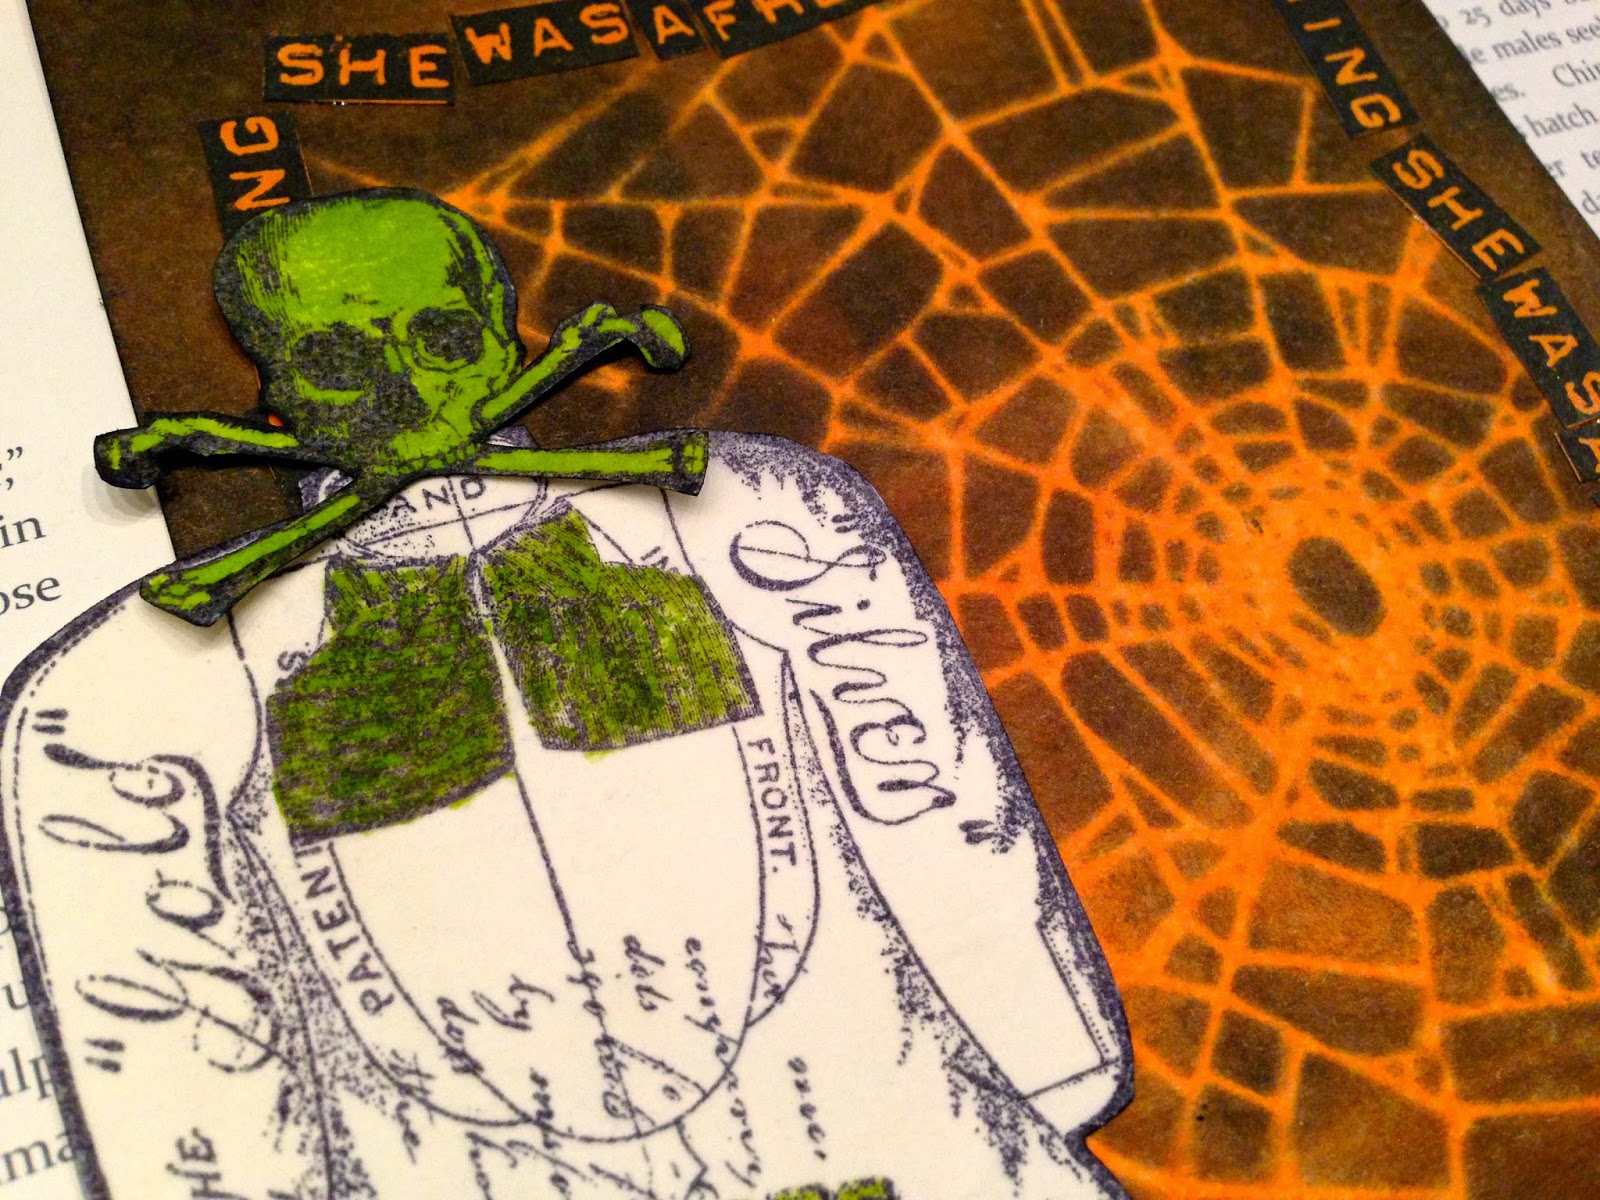
I must confess to not being a huge fan of Halloween. The children, needless to say, love it! This year, one child is off to a party but the other is inviting a few friends round to go trick or treating with and they need invites! This is what I came up with!
I took a tag and covered it in Spiced Marmalade Distress Ink. The colour is just wonderful! Then I used the Shatter stencil and covered my gorgeous orange with Black Soot Distress Ink. Then I sprayed it lightly with water to ensure that the image was a little more 'spooky'! I then used a Wendy Vecchi stamp several times to add a border round the cobweb image. If you don't have this stamp then you can use Tim Holtz' label letters.
I love making people from stamps and I used a few favourite Lynne Perella stamps here. I stamped the images on to tissue paper and then glued it to card, but you don't need to do that as I used Dylusions spray ink in a water pen to colour the stamped image rather than paint and the colour will sit on top of the stamped image (rather than behind it like I usually do).
The skull and sign are from a PaperArtsy mini (77) and I added a wiggly pavement and post for the sign from a JoFy stamp set. Now all that's left for me to do is to make a few more!
Hope you enjoy Halloween this year!


Sunday, 26 October 2014

Shabby layered snowflake


HI everyone I hope you are having a happy Sunday. I am joining you today with a Christmas card that you could put together very easily but has a great deal of vintage charm.

P1050894a

I began by die-cutting Tim’s new layered snowflake die with embossing folder. It is fabulous for creating that wonderful texture on it.
I splodged it randomly with some picket fence distress paint.

P1050838

When it was dry I smeared some glue with my finger over the painted area and covered it with platinum glitter.

P1050839

The new Holiday Words thinlits give you fabulous greetings to add to your cards quite quickly and teamed with the ‘Stick It’ sheets work beautifully without any fuss in trying to adhere them to your design.

P1050843

The instructions on the packet are very clear. I cut a piece to the size I needed for my dies, removed one side of the protective paper and rubbed it onto the reverse side of the card I wanted to use.

P1050844

With my very thin dies I always use the sizzix magnetic platform as this keeps the dies in the place you want them to be and they don’t slide around. At this stage you die-cut in the normal way and have the Stick It paper underneath and not showing.

P1050893

It looked like this when I took the dies off the card.

P1050898

I gathered all the pieces I wanted to use in my design including papers from the Merriment set and making a shabby rose Jennie Atkinson style

P1050849

I painted an edge around my card ….

P1050850

… and assembled the card.

P1050895


Thanks for stopping by today and taking a peek at my shabby Christmas card and if you want to try making shabby shabby flowers take a look at Jennie’s blog HERE

hugs Brenda
Bumblebees and Butterflies.


Friday, 24 October 2014

Always Take the Scenic Route


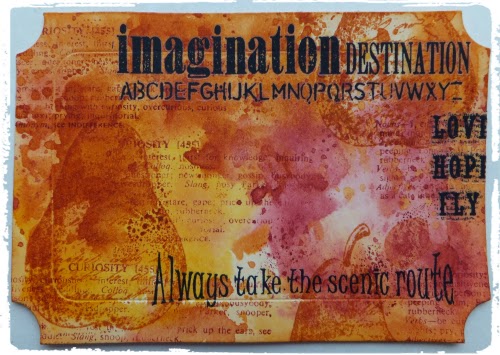
Hello everyone, Jennie here and again I am playing with the Big Ticket die and some (almost) single layer stamping.


I cut a Big Ticket using Ranger Manilla cardstock and gathered my Distress Inks:  Aged Mahogany, Rusty Hinge and Wild Honey.  I splodged these on the craft mat and spritzed them with water and dragged the cardstock through them.  I kept going back and picking up more ink here and there.  This is the technique Tim Holtz refers to as Wrinkle Free Distress.


I used the lovely pear from the Classics 16 stamp set and stamped three impressions in Rusty Hinge Distress Ink.


I felt I needed a bit of text here and there and so using Rusty Hinge Distress Ink again I used the small text stamp from the Curiosities set.


Time for something a little darker but instead of stamping I used some Remnant Rubs.


I then stamped the quote from the Classics 16 set in Black Arcival - it is a bit scary at this stage stamping over the lovely background!


And finally the lovely bird again from the Classics 16 set - he was stamped on a small piece of Manilla cardstock with Black Arcival Ink and then I blended Wild Honey, Rusty Hinge and Aged Mahogany inks here and there. In order to get a better blended look I spritzed with water and then when dry embossed with clear embossing powder to ensure he stood out from the background.


And another page for my Big Ticket book!

Thank you for joining me today and happy crafting!

Jennie


Wednesday, 22 October 2014

Snowflake mobile

Hi, Amanda here with an idea for a quick Christmas decoration to add some festive cheer to a ceiling or window. I hope you like it!


First I painted 6 laser cut wooden snowflakes using a metallic pearl paint dabber. I applied two coats of paint on each side, allowing to dry in between each coat. It's a good idea to have a needle handy, in case the paint fills up any of the fine detail.


Then I cut a large snowflake from acetate. I used the packaging from the snowflake die. It was just a tiny bit too thick for the die, but it took very little to finish off the cutting with a craft knife. I painted the snowflake with two coats of metallic pearl paint too, applying the paint with big splodgy dabs to get a nice textured finish.


Once dry, I used a craft pick to make a hole in each point of the acetate snowflake. Next, I cut 6 lengths of white cotton approx 25cm long and tied each one to a wooden snowflake. I threaded on a seed bead, and looped the cotton through the bead again, then through a hole in the snowflake. I added a seed bead on the other side of the acetate snowflake and glued both beads in place, leaving 8-10cm hanging below (I varied this a bit for each snowflake). I made another hole in the centre of the acetate snowflake and threaded through a piece of cotton and a larger bead, then gathered all the ends of cotton up and passed through a jewellery crimp bead. I adjusted so that all threads were under tension, with the acetate snowflake level, then closed the crimp bead with pliers. Finally I looped the threads and passed through another crimp bead to make a hanger. I used a spare cotton to make the threading easier, like this:


Here it is again, all finished:


Thanks for visiting, and happy crafting

Amanda