Hello! Jennie here sharing a few cards made with my (ever growing stash of) stencils!
When stencils first started appearing I was actually rather scared of them but amazingly I wouldn't be without them now. Once I learnt how to use them in layers over the top of each other using either inks or texture paste I have really enjoyed using them.
So here are a few cards and step by steps using the layering stencil process.
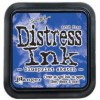
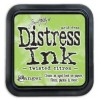
I really like creating cards using ATCs. They are a great size for experimentation and sit well on a blank white card as a little note or thank you card. I used the Wrinkle Free Distress Technique to get some colour on this matt ATC - I used Blueprint Sketch and Twisted Citron (I really love this combination!).
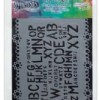
I used a layering stencil and the same coloured inks to create the first layer.
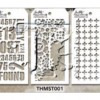
And then a number stencil and there are a few dots in there too from another one!
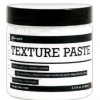
After adding a little text stamping with Blueprint Sketch Distress Ink I used another stencil and texture paste as a final layer. I love the white paste layer but it does pick up a bit of ink too which makes for some interesting colour.
I finished this ATC with a sentiment stamped from in Picket Fence Distress Paint on black cardstock before layering the ATC onto some more black cardstock and then my white card blank.
I thought it would be fun to try the same colours on a glossy cardstock ATC and here are the results - I think you will agree quite different!
I love the way the initial stencil layer looks almost 3D.
So ....... a girl can't have enough stencils! well this one anyway!
Thank you so much for joining me today.
Jennie x






Thanks for the tutorial, I have lots of stencils but haven't got the hang of layering them going to have another go now,
ReplyDeleteLove these! Beautiful color combo.
ReplyDelete