Here is the back ..
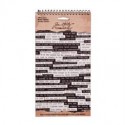
On the sides I added some small talk stickers, cut into sections .. and edges inked
Because the inside will be seen I inked all over with distress ink, lightly spritzed with water and heat dried.
Now to add the details ... I spitzed with water using the new distress sprayer...which is cool as it has two levels of spray in one...if you hold half way in you get bigger droplets...but holding totally in gives a finer spritz of water....I left to sit for s few seconds and then heat dried.
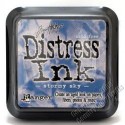
I then inked up the script stamp from classics #9 in stormy sky distress ink and randomly stamped patches over the outside of the box...see below.
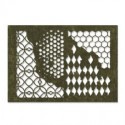
For the next inky layer...I placed the doily stencil in random places and applied tumbled glass distress ink through in random places using cut n dry foam.
here is how all those inky layers come together ..
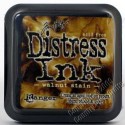
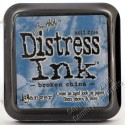
I took a couple of photo booth cards and scuffed and sanded , inked around edges with walnut stain distress ink and then added some blue to areas...using distress marker (tumbled glass). I heated and added a second swipe of colour, heating again.
I die cut a piece of card using mixed media thinlit..then inked with distress ink..then cut to smaller pieces and added to the front and back of the box die cut.
To complete I added the coloured photo booth pieces, chit chat word edged in distress ink and finally some little flowers made using tiny tattered florals thinlit die set, inking the petals lightly with distress ink and some leaves coloured using bundled sage distress ink.
To close the box it suggests a stick, but I dyed some seam binding using distress stain and tied the top closed ..
So hope you like my latest make and will be back later in the month with my third make for this month..and yes it does have even more photo booth!
keep those fingers inky!
trace x








So beautiful Trace!! I love the blue base, it really makes your sepia photo jump of the page! Great techniques and a wonderful tutorial. Stunning! hugs :)
ReplyDeletereally lovely die Trace and a great use of it - beautiful design - brilliant pics too xx
ReplyDeleteWhat a pretty friendship box Trace! love the inking and water spraying - and fun photobooth pics!
ReplyDeleteFabulous colours and layers Trace - a wonderful project x
ReplyDeleteBeautiful Trace - I liked the background blue with splatters most of all - with the script. I thought that alone makes for a gorgeous box!!
ReplyDeleteSandy xx
I just love the shape of the box Trace and you have decorated it so beautifully too! Hugs, Anne xx
ReplyDeleteFabulous, Trace!! XOXO-Shari
ReplyDeleteSimply charming - love the inky background effects and such delicate stencilling with the lacy pattern. Fabulous!
ReplyDeleteAlison xx
Really pretty box!
ReplyDeleteReally pretty box!
ReplyDelete