Showing posts with label Valentines. Show all posts

Monday, 16 January 2017

Block Heart

Hi it's Brenda here from Bumblebees and Butterflies. I thought I would design something a little different as a valentine card/gift to give to my hubbie this year and there's still plenty of time for you to make one too if you want to have a go.


Take a small block of wood, sand the edges smooth so there are no jagged edges to give you splinters  and .........


...... give it three coats of rustic chalky finish paint.


Next take a palette knife and lightly scrape over some lace chalky finish paint.


Mix a pink to fit in with the vintage timeworn look. I used all chalky paints, innocence, lace, rustic and everlasting. 


Again scrape some over the sides and top of the block.


Next give a watery wash of lace all over to unify the colours.


With any left over pink colours I scraped them over a piece of card and left to dry then stamped the hearts and tickets onto it.


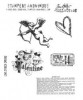
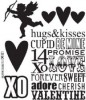
On the back panel I stamped my sentiment and some words from Tim's stamp set (see below)


On the front I stamped the words several times to completely cover the surface - but to achieve the random look after I have dabbed the archival ink pad over the stamp I wipe of random parts with a baby wipe.


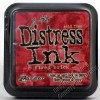
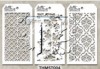
On the sides and top panel I used a mini stencil and fired brick distress ink to create the patterning.


I also die-cut a large heart from left overs that I keep in a box - they come in so useful for pieces like this.


I cut and re-painted the stamped hearts as the red ink did not fit with the colours I had been using and put together little pieces on each side.


Thanks for stopping by.

hugs Brenda xxx


Friday, 7 February 2014

Cute little Valentine card

I thought I would share a quick card today which is a small Valentine card for someone special in your life, I know my little grandaughters would love it (mainly because its pink!!!).


I started with Worn Lipstick and Milled Lavender distress inks on my craft sheet, sprayed a little water on them and gently wiped part of a 3 3/4 inch square card into them and heat dried the inks.


The Tim Holtz mini cupid blueprint had already been stamped onto some card (I found it in the bits box), cut and tore it out and painted it using the leftover inks on my mat. I also watered down some Frayed Burlap to paint around the edges, smooshing  (technical term here lol) it unevenly to look a bit like watercolouring. I distressed and inked the edges with Walnut Stain.


I stamped the mini pediment onto brown paper and cut it out dabbing a little brushed pewter distress stain on it and spraying lightly with a little water and heat dried it then cut it out.


I used a movers and shapers die to cut a heart from a scrap of paper again inking the edges and found a small fleur de lys charm from my supplies. You can see some little splatters of paint which adds a bit of interest.


LOVE is made from Tim Holtz label letters.

Have a great weekend and hopefully some creative time for yourself.

xx


Friday, 31 January 2014

Valentine Heart

Morning all, Donna here with an easy idea for a Valentine gift or maybe something for a wedding or anniversary.


I picked this heart up at work and thought it was the perfect base for adding a floral embellishment using Tim Holtz's new Jumbo Tattered Floral die. I cut four layers of the biggest flower on the die and then to create the centre 4 layers of the same flower but from the original Tattered Floral die, then I coloured them with distress ink using cut 'n' dry foam, I used Spun Sugar and a little Brushed Corduroy just to give it a little vintage feel. I also cut a couple of bits of foliage using the new Garden Greens die which I also coloured with distress ink. Once the petals were coloured I scrunched them up a little and rolled the edges of the petals over the handle of a paintbrush  and then glued them all together.  Then it was simply a case of gluing flower and leaves to the heart along with a little stamped sentiment and finishing with some pretty ribbon to hang it all with.


Donna xx

Saturday, 25 January 2014

Valentine hanging

Tizzy’s Bonio boxes are beginning to pile up – they’re great for bases, wood effects and texture…


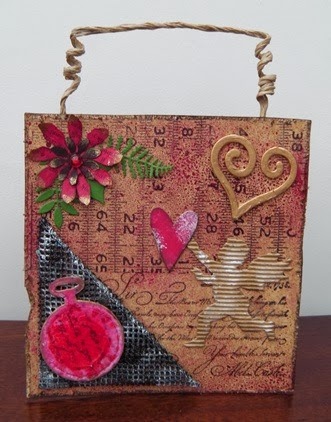
The side made a great base for my hanging so having tattered it and stained it it was ready to go…


Tim’s beautiful script stamp made a nice background…


…as does his tape measures stamps. I deliberately only inked parts of it to give it a distressed effect…


This fab wired edge mesh ribbon is so useful…


This time it makes a corner….


Having cut the embellishments I want I set about decorating them. The heart is sprayed with Cranberry as is the pocket watch which has then been stamped with black archival ink. The cupid has just been cut from crimped card and inked around the edges and the fancy heart painted with crackle and then dried with a heat gun before adding Treasure Gold to lift it…


Kroma crackle spread over the pocket watch and dried with a heat gun gives an interesting effect…


Some of the embellishments have white gesso stippled on them for added texture…


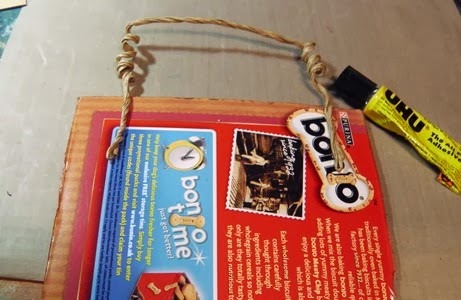
Brenda kindly bought me some paper covered wire which I use often. This time it makes the handle by twisting and then coiling…


It needs a quick drying metal glue to hold it in place…


I added a tattered flower sprayed with raisin and edged with Treasure Gold and then laid the embellishments out as I wanted them before gluing in place…


Left and right…


…and finished!


Have a fabulous weekend,

Chris xxx