Showing posts with label Lin Brown. Show all posts

Thursday, 12 October 2017

Create art every day

I wanted to decorate the cover of my small Creative Flip Journal and thought I'd share what I did!
I started by masking off the red binder with some washi tape and painting it three layers of Black Marble paint
I then added Snowflake (white) paint with an old gift card
Next came Calypso Teal paint
Now for the fun part! Add more white paint through a stencil with Cut-N-Dry foam - this is so the next colours zing! Then add Banana paint over the centre of the flowers
Reposition the stencil and add Bougainvillea to the tips - how cool is this?!
Add some dots from the stencil on to the flowers (clever how they fit together!) with black paint
To complete the background I dried the flowers and the sanded it down so it looked more shabby. I added some Gathered Twigs Distress Ink to the edges
A tag and some flowers from JOFY for PaperArtsy completed the cover.
Thank you, as always, for popping by

Wednesday, 26 October 2016

Infusions Love!

Hello Everyone! Jennie here with you today sharing a (very) simple and quick card and tag set using those wonderful little pots of PaperArtsy gorgeousness - Infusions.


The most difficult part of using Infusions is choosing a colour, or colours - they are all so fabulous! At the moment my favourite is A Little Jaded and I love the deep turquoise effects the powders give.


I started by cutting 2" squares of white cardstock and then stamping this gorgeous Lin Brown flower head using Versamark and White Embossing Powder.


When the embossing had fully dried I spritzed the cardstock with water and then poured a little of the powder onto the damp cardstock. In places I added more water before drying with a heat gun and mopping up with a roll of kitchen towel.


I quite like the lighter watercolour look to the Infusions so you can see how much I mopped up!


I stamped and inked a small luggage label in the same way and then mopped up all the ink on my craft mat with some seam binding.


The squares were then edged with a gold pen and layered onto some black cardstock before being layered onto a 5" x 7" white card blank.


I finished off the tag by edging it with a gold pen and sticking another tag onto the reverse.


A very quick card/tag set to make, however, the combination of the Infusions and Lin's wonderful stamp design result in quite a stunning make.

Thank you for joining me today!

Jennie x


Saturday, 6 February 2016

February Journal Page

Hello! Hope that February is treating you well. For my journal page this month I have given it a Valentine feel using the lovely new stamps from Emma Godfrey. The weather was decidedly overcast when I made this page so my apologies that the colours are a little drab!
Using white and pink paint on a damp brush I painted my journal page.
Then, using cut and dry foam and some of the left over paint, I added some stencilled hearts
Feeling brave (!) I added some blue hearts slightly off centre over the pink hearts
I love a shabby look to my journal pages so I gently sanded over the painted hearts
I then added some more stencils and again sanded them when dry
Then I had a lot of fun colouring four hearts and a stalk. You can use anything to colour these: Distress Markers; Dylusions Ink; paint; pencils etc. I added a smaller, central heart to anchor the month to the flower.
The sentiment is built up from the sentiments in the stamp set - you don't have to use them as the set suggests! I added gold paint and a few stamped elements in black to add a little contrast.
I hope you like my page! Thank you, as always for popping by.

Friday, 4 September 2015

Tulip

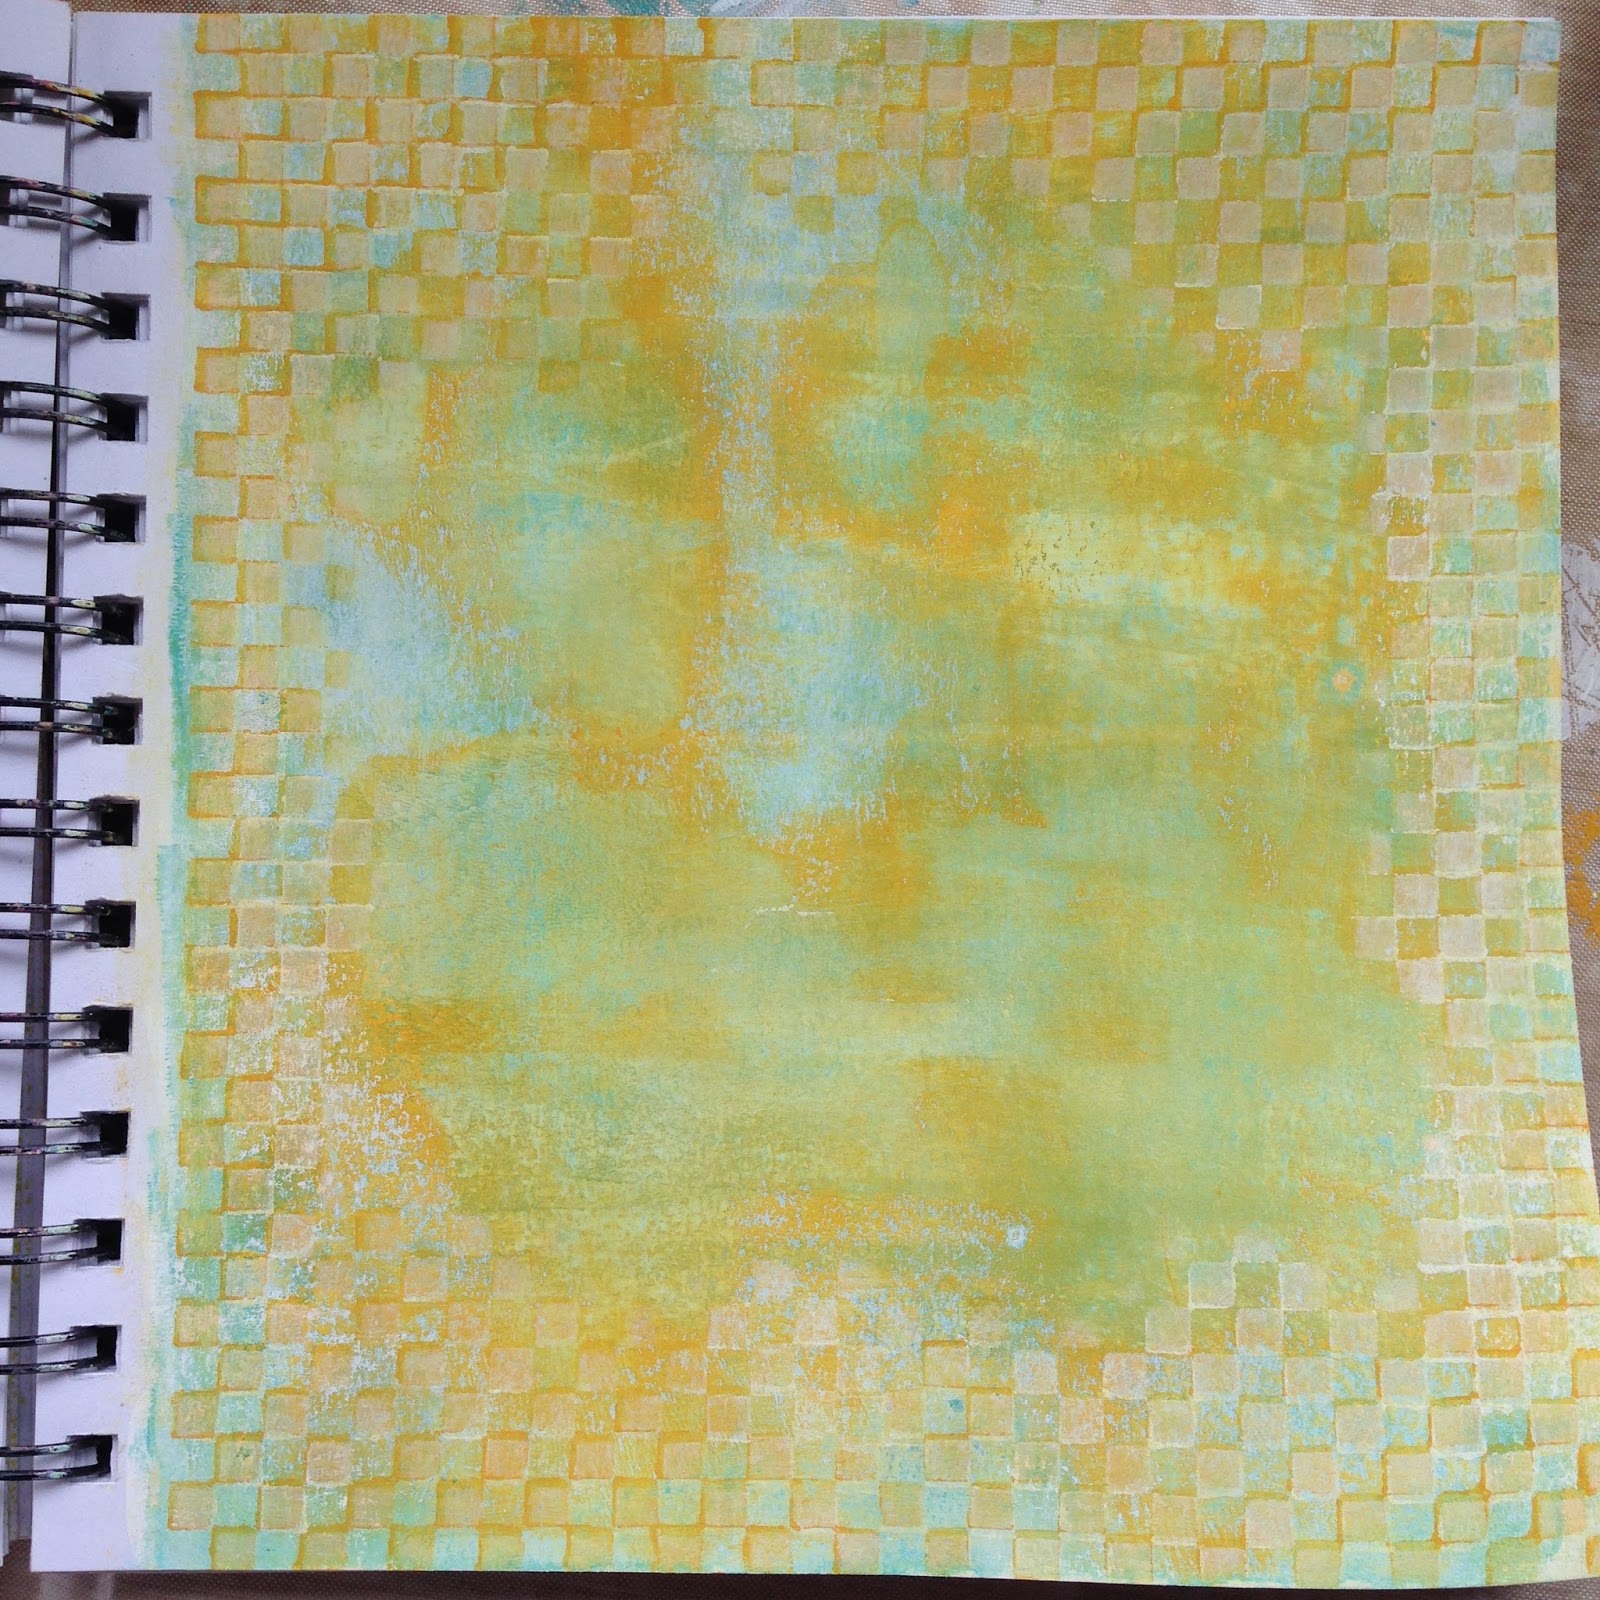
I shared a 'mop up' page in my journal and this is another one! I hate wasting excess paint and so, when I have some left over I add it to a journal page and then, when there's enough I make it into something!
In the case of this page I had added blue and yellow toned paints to the page. added white paint through a stencil around the edges and then lightly sanded the page. This provides a lovely smooth surface to stamp on!
I stamped the dandelion head stamp and then added the border. The tulip was stamped on to cream card and painted using Bougainvillea paint - I starting by picking up a tiny bit of paint on my paintbrush and watering down and then increasing the  intensity of colour. There's probably 15 thin layers of paint on the flower alone! Add a sentiment and it's complete!
Thank you, as always for popping by!