Showing posts with label distress crayons. Show all posts

Wednesday, 2 August 2017

haunting melodies

Well it has been a while but Trace here with a Tim Holtz filled tag ... my make for today is a Halloween inspired tag using lots of the new Tim holtz goodies.

So here is my make :


I started by embossing the tag using one of the new folders damask skulls


I then added some colour using distress oxides in wilted violet and spiced marmalade, I flicked water over, re-applied colour and then added more water.


the colour highlights the texture brilliantly and shows how wonderful the texture is ..


To highlight the texture some more I applied some distress crayon in black soot and also
 edged the tag with distress soot crayon


I then die cut the tag using three of the claw marks from the new Tim Holtz Halloween dies and then layered the tag over a black inked tag, I added lots of mini attacher staples and I also splattered some distress paint in black soot.


here are the details of the staples..
and sanded away some of the texture


whilst waiting for the new paper dolls I cut out these figures from a found relatives card and sanded so that they took on a more ghostly appearance


I added some film strip pieces


I also added a token at the bottom part - I also added the new die cut cobweb


I completed the top of the tag with dyed seam binding


here is the complete tag :


and here it is with a few twinkly lights :


so that's all for today..

hope to see you soon 

Trace x

Thursday, 2 March 2017

explore, dream, discover

Well like lots of others I have been eagerly waiting to get my inky paws on the new distress oxides from the one and only crafty master , Tim Holtz. So have been playing with some backgrounds (which I will share later ) - I then wanted to make a finished piece.

So here is the result , and a card too :


I started by applying texture paste through the flourish stencil in both corners of the card and left to dry . I then applied the inks to the craft sheet ( sorry so excited I forgot the picture ) - spritzed and then dipped the card and dragged through. I then heat set, spritzed and re dipped , the more you spritz the more the distress oxide magic appears...
they're amazing!!


The colours I used are walnut stain, vintage photo and broken china distress oxide inks.

I wanted to use the same inks to colour the bird stamp, but know that you shouldn't drag one colour distress oxide through the other as to try not to contaminate the pads ...so I inked the bird stamp with broken china and then applied the vintage photo ink using a blending tool , to get a double coloured image.


I spritzed the bird image and dried and then spritzed and dried again...the oxidized effect 
gets greater the more water you add ...it is truly amazing!!

Here are some of the close ups


To allow the bird to stand out I glued some bits of mdf on the back as this raises it up.


I finished the card off with some hand dyed seam binding...( used distress inks for these ).


I added a word band and coloured the letters using distress crayons in tumbled glass and frayed burlap.


I added a chit chat sticker, with inked edges and added to the right hand side


I love these colours and  the distress oxides are just amazing - cannot wait to play some more.


So hope you like my first foray into distress oxides ... 

trace x



Tuesday, 14 February 2017

Happily Ever After

Well Trace here , it has been a while, but Susan said I can post here as and when .... I know it has been a long as  and when , but hopefully better late than never ...

So here is a vintage inspired Valentines , using lots of yummy distress goodies and distress crayons, I know late to the party but I am loving playing with them ...

So here is my make :


I love the vintage feel that the found relatives   give ( not sure which set this is from as I have all mine muddled up !) and cannot wait to see the new paper dolls from Tim , which are top of my list!

So I started by applying matte texture paste through this gorgeous Tim flourish stencil and allowing to dry . I then coated the card with  collage medium and stamped some random patches of script using grey archival ink.


I then started to apply patches of distress crayon, starting with antique linen , and rubbing in with a damp finger.
I then built up the colours using frayed burlap and walnut stain.


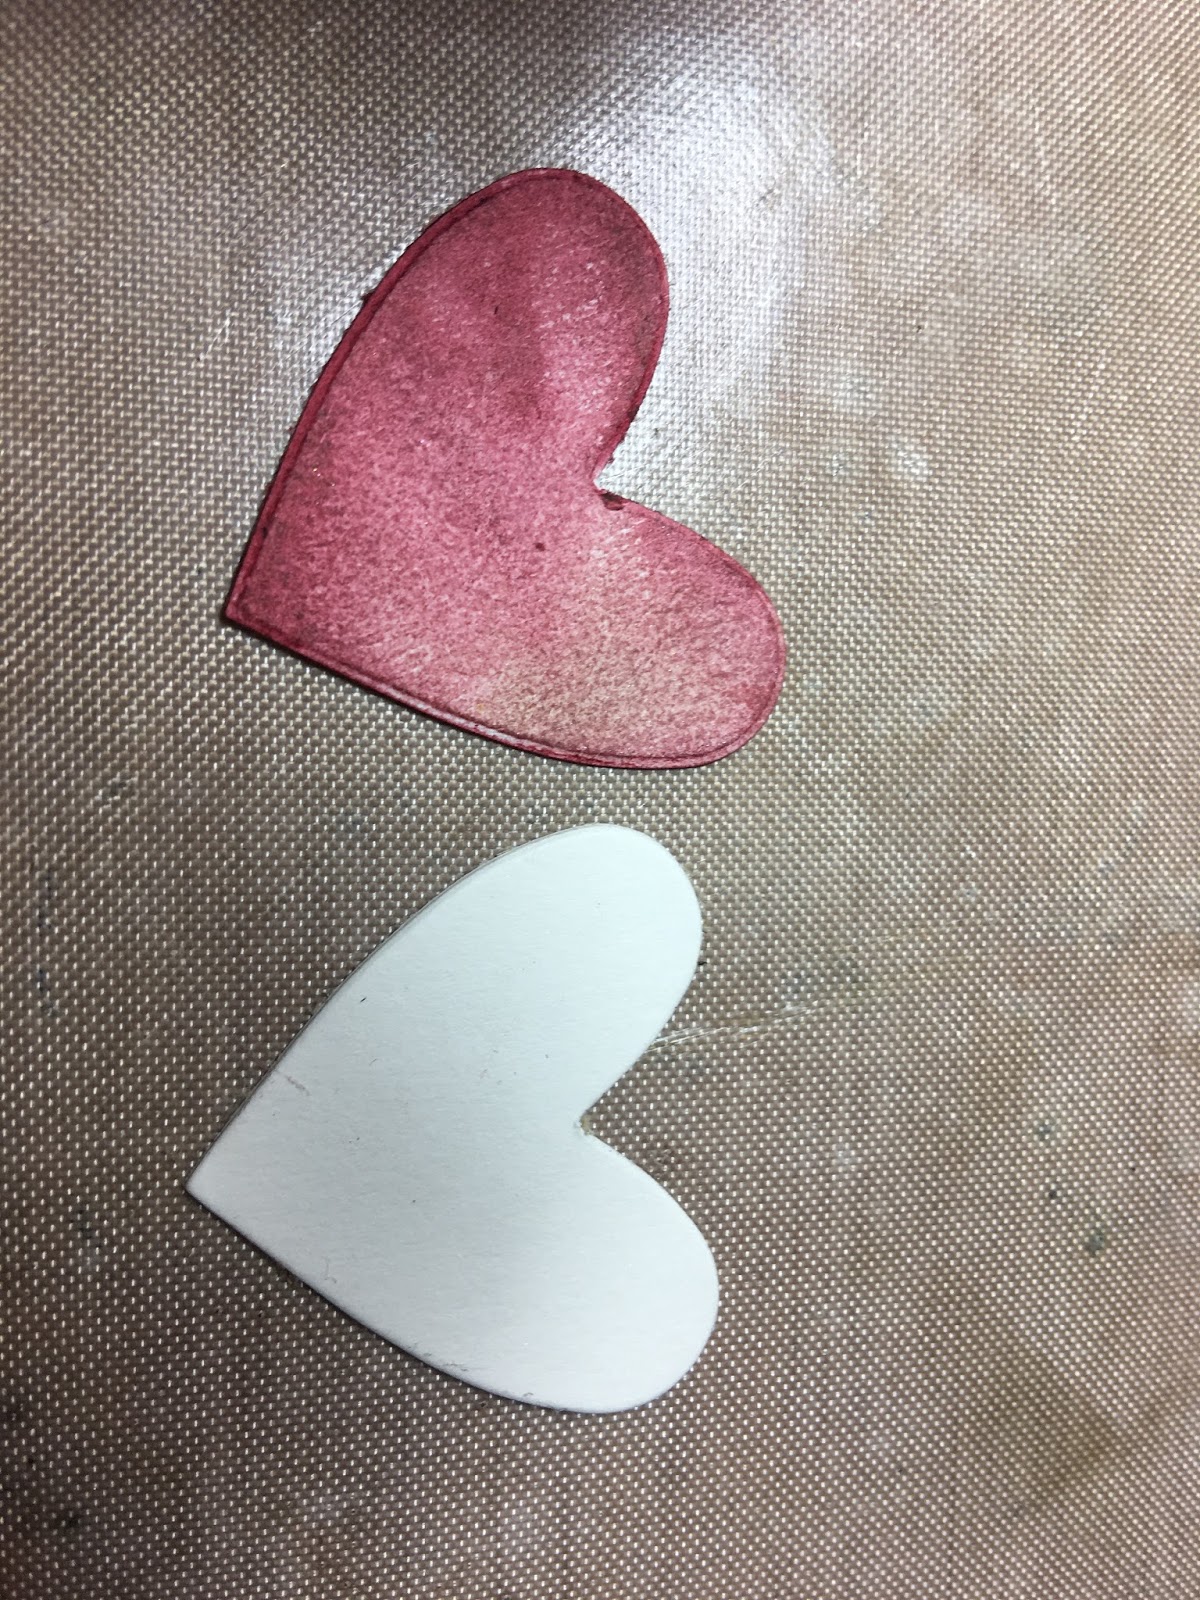
I die cut two hearts and coloured using distress crayons , in barn door and fired brick and edged with walnut stain distress crayon.


To complete the card I added the found relative card which has some tissue tape stuck on , as well as a chit chat sticker . I tore the bottom and edged with distress crayon and walnut stain distress ink. I also lightly sanded it and added some ink as I like the extra distressed feel it creates but this is totally personal choice.

I added the hearts and lifted one slightly to create dimension and also added an idea-ology number plaque.


To complete the left hand side of the card I dyed some seam binding using distress stain, scrumpled and left to dry , then added the the card and tied in a bow. ( you can heat dry the seam binding but leaving scrumpled overnight gives a crinkle that I prefer )


So there you have my first post in a very long time...a vintage valentine x


Hopefully I will be back soon !

all the products used are in Country View Crafts .

keep those fingers inky!
trace x
Thursday, 28 July 2016

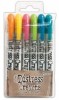
Distress Crayons and Paint cards

Addicted to Art - Distress Crayons and Distress Paint Cards
Hello everyone :)
Today I thought I would share some cards I made using distress crayons and paints.

1. I began with adding gesso to some card. I then worked in lines with either crayons or paints to build up colour.
Distress Paints

Distress Crayons
2. Next I added some black paint lines using a credit card and smudged with my finger. I also did some paint splatters using watered down paint and a paint brush. On one I also added some stencilling.
3. I stamped some images (Butterfly from PaperArtsy HP1506EZ) on deli paper with stazon and cut them out. I did this first thinking I might collage my butterflies but as I didn't you could just stamp directly onto the card. I glued these onto my cards. You can see the glue slightly smudged the distress crayon lines.
4. I then painted by butterflies and added some more distress crayons to deepen the colour. 
5. Finally I added some painted wooden butterflies from my stash and some chit chat (seasonal) stickers.
Addicted to Art - Distress Crayons and Distress Paint Cards
Distress crayons

Addicted to Art - Distress Crayons and Distress Paint Cards
Distress Paints

Addicted to Art - Distress Crayons and Distress Paint Cards

Addicted to Art - Distress Crayons and Distress Paint Cards
Nikki