Showing posts with label Blueprint Stamps. Show all posts

Sunday, 22 April 2018

Card with wine blueprints by Tim Holtz

Hello everybody,
it's Monika here with a wine card.
On my blog, you can find the story of this card,
and here you can have a detailed tutorial.


1. I stamped the mini wine blueprints onto a watercolour paper (300gsm) with Ranger Archival Jet Black ink.


2. With using a ruler I made little images with distressed edges.


Here are my images:


3. I cut out two squares (two top layers) and a folded card from kraft paper.


4. I distressed the edges of the squares.


5. When I realised, I couldn't use all the images on my card, I decided to stamp the corkscrew onto the top paper.


6. I coloured the images with Ranger Distress markers and I used a wet brush to achieve a watercolour effect.


7. I poked holes in the corner of the images and I put tiny brads into the holes.

8. I inked the edges of the images and the card layers with Ranger Distress Antique Linen and Vintage Photo inks.


9. I adhered the images with foam tape adhesive onto the top card.

Tim Holtz Stamping Platform
Ranger Distress markers
Ranger Distress ink pads, (Vintage Photo, Antique Linen)
Tim Holtz Paper Stash, Dapper 12x12"
Tim Holtz Idea-Ology, Mini Fasteners


I hope you like it!
Thanks so much for stopping by!!! xx


MentésMentésMentésMentés

Wednesday, 16 December 2015

Distress Glazed Snowman

Time for another Christmas card and I thought I would use Tim Holtz distress glaze, which I haven't really had chance to test out yet. Great stuff - if you use it right - which I didn't the first time!
I stamped my blueprint of the snowman on some card and used distress inks to colour him in. For the snowman I used iced spruce just to give a hint of colour. I then took the distress glaze and rubbed a small amount over the area I wanted to protect. I used my finger mostly but a small brush around the edges of my image - although I didn't mind it not being perfect.
I then added some darker colours to my craft sheet and spritzed before placing my card in it.

You can see on the image above how the glaze resists the watery ink.
Now at this point impatience got the better of me and I decided to heat dry the ink. Not thinking! Of course this melted the glaze and so the effect was lost. Good job I had stamped 2 cards.

For the second one - no heat gun. I cut Merry out using the alphanumeric thinlits and then mounted on a blueprint sketch inked matt layer.
In the end I actually added the letters back but in a different colour. I added few snowflakes I had lying around (Tim Holtz bigz die - a little crackle and some paint) and some speckles of picket fence distress paint on a dots stamp for snow.

For the snowman I heated - he wasn't wasted - I cut him out and made a second card...

Thanks for stopping by today - I wish you all a wonderful Christmas!
Nikki


Monday, 23 November 2015

Poinsettia Blueprint Christmas Card


Hi it's Brenda here and I'm joining you you with a Christmas card today that you can make quite quickly and add to your box. I am pleased to say I am getting a few done now and glad I have started as things seem to be getting manic with project deadlines and family life.

The background was stamped using the sentiments from seasons silhouettes with embossing ink and heated with a sparkly white embossing powder. This was then selectively dipped in festive berries and mowed lawn distress inks.


Stamp the poinsettia twice cutting them out without the leaves on one. Dip the smaller part in festive berries, fired brick and abandoned coral distress inks. Put them together having blended the edges with your favourite brown distress ink then add a small amount of pinflair or collal glue gel to the middle and stick in some dried natural seeds to make them look like the berry centre.
I then dipped the lower piece in in pine needles and twisted citron and I just love the colour combination and blending that occurred.


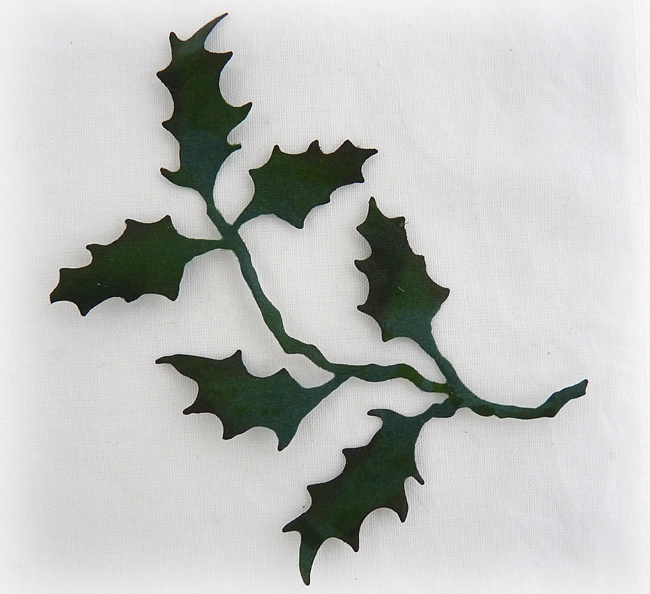
Die-cut holiday greens holly using green paper and also dip that in twisted citron to get shade variations on the leaves and edge with ground espresso.


The banner was simply dipped several times in festive berries drying between each dip and seasonal chit chat words added.


I put it all together with some natural fibre behind the poinsettia.


I hope you like the brighter colours for me and a fairly simple card to make and get in the post.


Enjoy getting all your Christmas cards made, it won't be long till the big day now.

Thanks for stopping by.

hugs Brenda xxxx


Tuesday, 28 July 2015

Saying thanks ...

Well trace here and it is my turn over at Country View Crafts again today - and today is a simple card ...made in a variety of colours ...using one of the new blueprints... these cards were made to say you to my children's teachers but could easily be used for all sorts of occasions by changing the sentiment ..


I started by apply some texture paste through on of Tim Holtz stencil, this one was typo.. I ten to apply in three places , two on one side and one on the other . I then left this to dry.


I then spritzed the surface with water and spritzed with a variety if distress stains. I then set aside to dry . I made 10 of these cards in total in a variety of colours ..and they are quite quick to make a batch of ..making a quick but effective background for all sorts of images.


Now I used the new distress sprayer to add a more mottled feel by squeezing the trigger fully in / or part way creates varied sized droplets of water. leave these to sit on the inky card for a few seconds and then heat dry. larger droplets can be dabbed off if required .


here is one of the other colours I made using soft blue and antique linen.. I then added the background to the card and trimmed to size..


Now edge using walnut stain distress ink, which really brings the background together ...using a blending tool


I stamped the book image and added colour by scribbling distress markers onto my craft sheet and then applying to the image using my water brush.. I then heat dried and edeged the image with walnut stain distress ink.


Finaly spritzing with water as we did with the background and heat drying.


To complete the card I added some dyed seam binding tied in a bow and thank you hashtag sentiment, stamped in jet black archival


I love the scrumpled look of the seam binding...


And I seem to love each and every set of blueprints..versatile for all sorts of colours ...


And the texture paste through the stencil adds some texture to the background, whilst still making it a fairly simple make ..


And here are some of the other colours, chosen by my 3 children for their various teachers ..


so hope you like my makes for today ..

keep those fingers inky!
trace x