
I absolutely love die cutting. I love how you lay a piece of paper on top of a die and when you press a button (like on my Sizzix Vagabond) or crank a handle (like on my Cuttlebug) you get a shape from the other end! It’s such a fun thing to do and best of all you can repeat it time and time again! Beats cutting out with scissors any day!
So, this is a little project to show you how you can combine a few dies and make a gift box for the ‘big day’ that seems to be coming faster and faster!
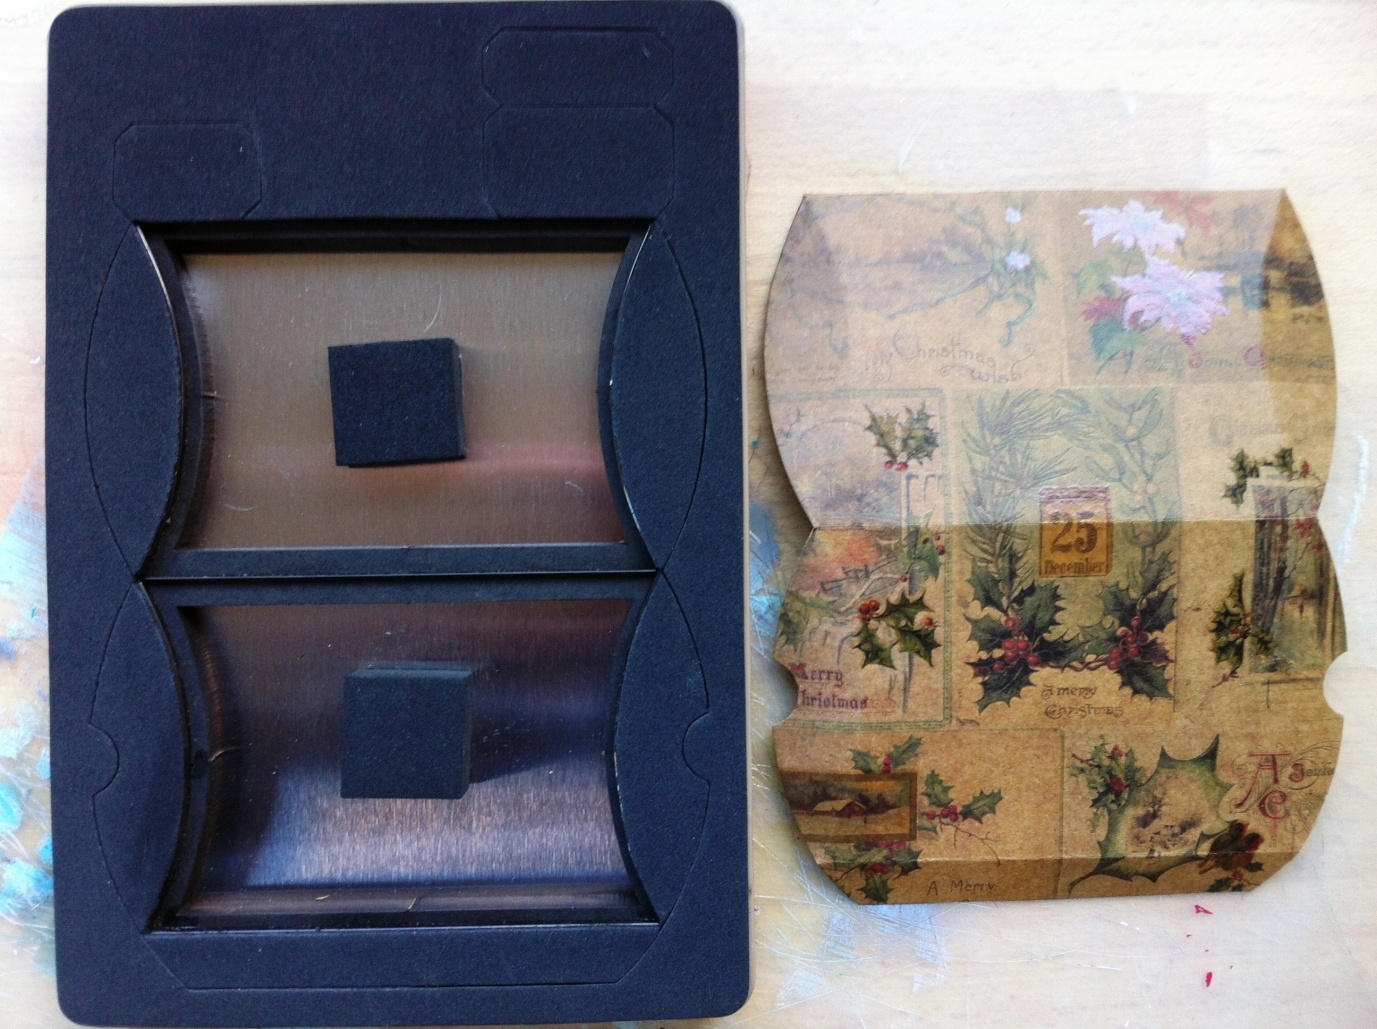
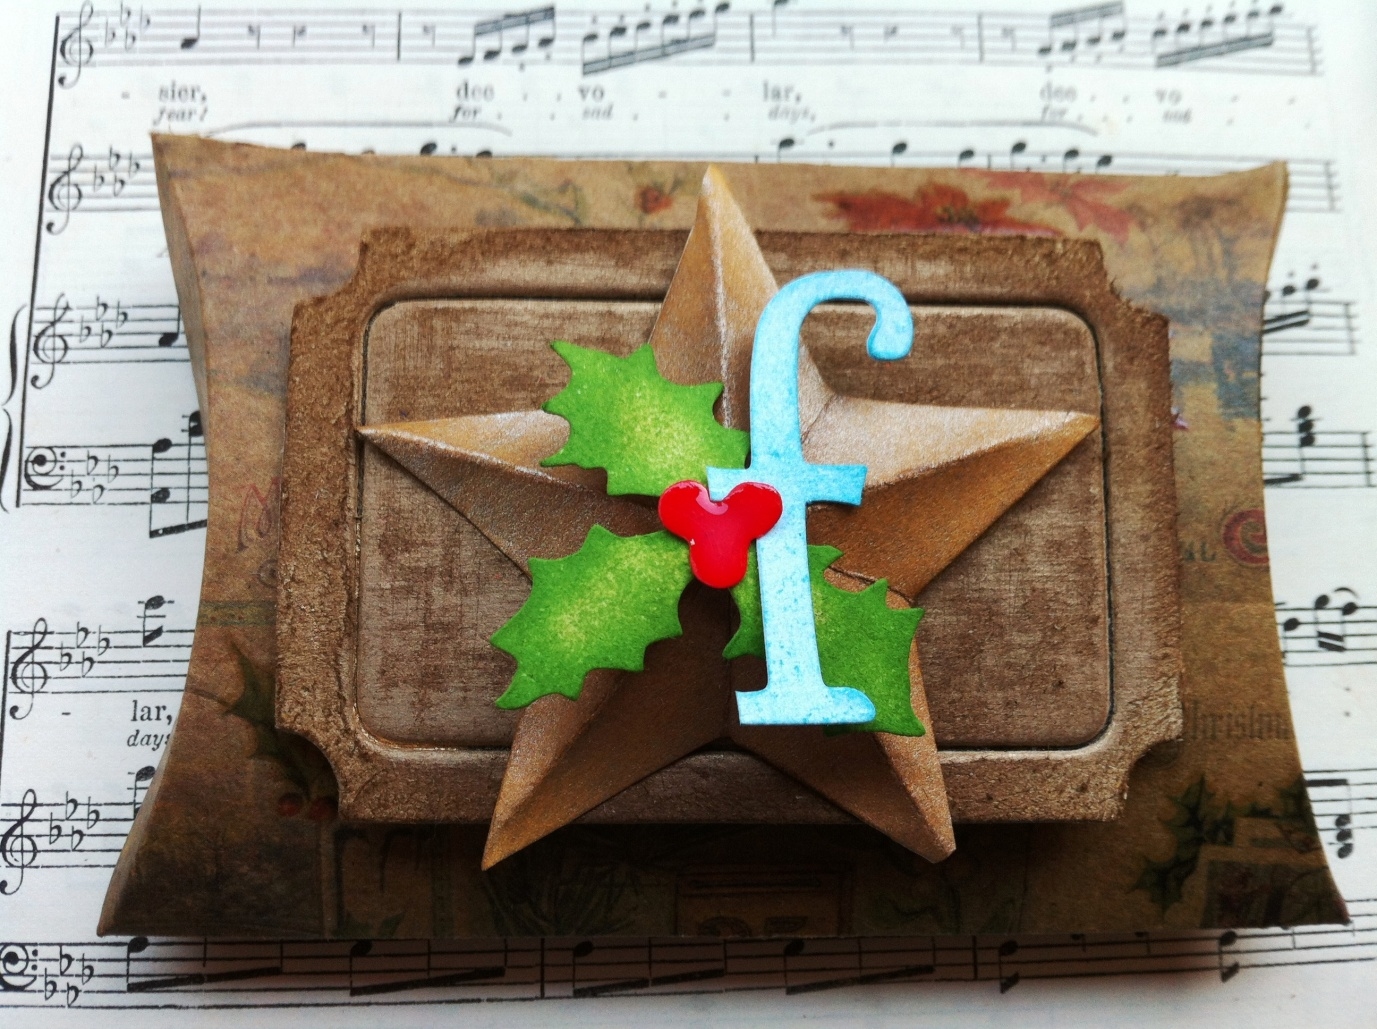
I started by cutting a rectangle of Christmas paper from Tim Holtz’s Seasonal Kraft Resist paper and die cutting a gift box using the Tim Holtz Movers and Shapers Pillow Box die. I must confess that when I ordered it I did worry that it might make a very small gift box but actually, once it is made up, it would accommodate a fair sized piece of jewellery or small gift so I was pleasantly surprised! To get the die to crease nicely it is advised that you use a crease pad as this allows the die to cut out the shape and add nicely even score lines.
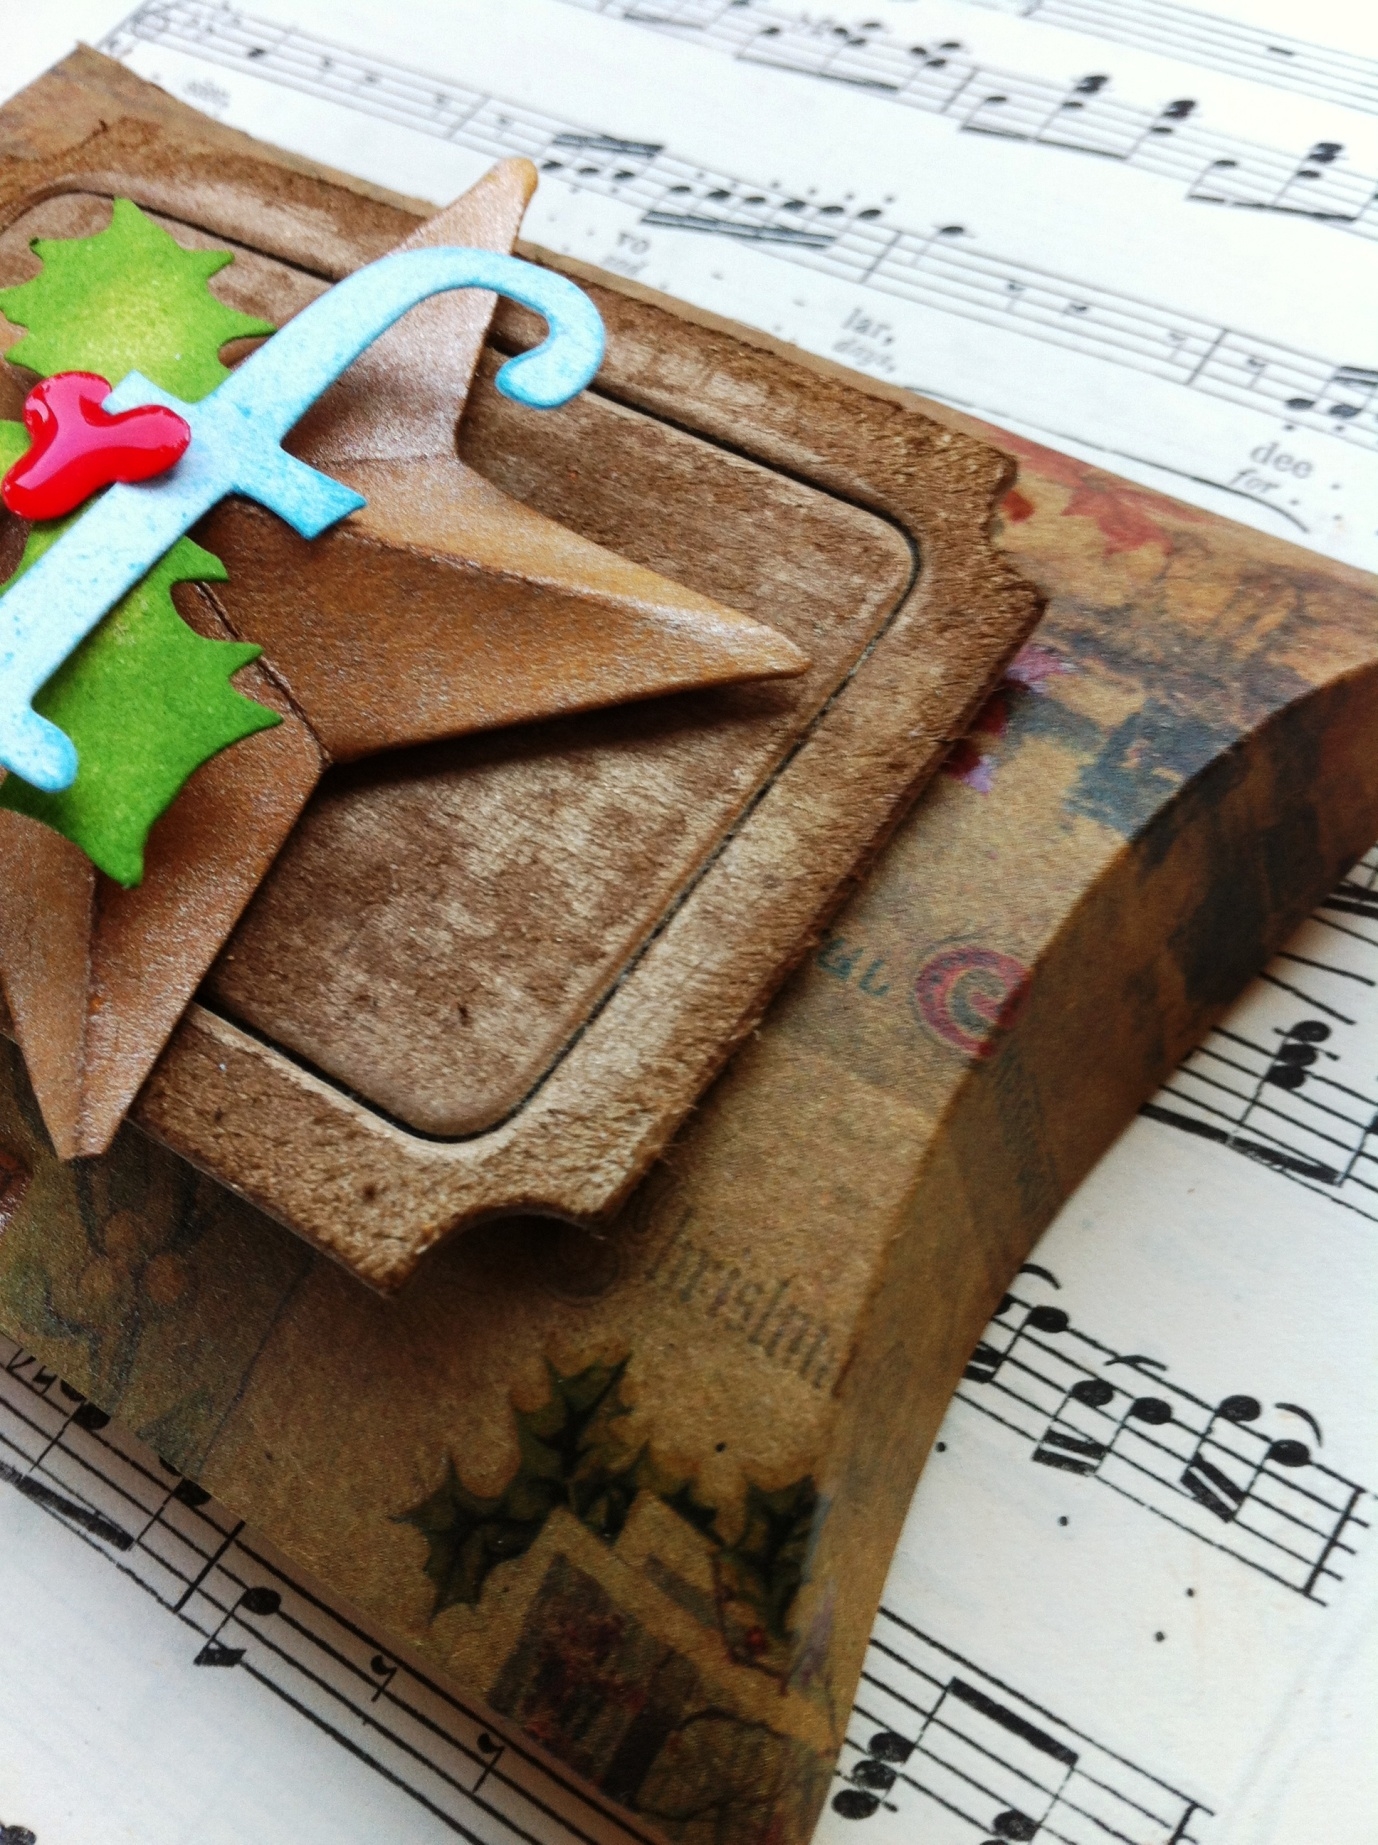
From Grungeboard I die cut out the Large Ticket. I painted the ticket with Gold Paint Dabber, sanded it back and added Gathered Twigs Distress Ink over the top. The small Star was die cut the same way as the Pillow Box and covered in Tarnished Brass Distress Stain. After I had creased the lines on the star I added Gathered Twigs Distress Ink to the creased lines to add a little contrast. I wondered how I could personalise each gift box and thought I could die cut a letter from the truly fabulous Word Play die which I inked with Broken China Distress Ink. I wanted to make the letter a little more Christmassy and so I added a little holly (Shabby Shutters and Mowed Lawn Distress Inks) and berries (Barn Door Distress Ink and Glossy Accents for shine!) from the Holiday Lamppost die.
I hope that you might try mixing and matching dies to create fabulous projects in minutes!
This is just great, Gabrielle!
ReplyDeleteA great make! Trace x
ReplyDeleteGreat gift box, the paper looks fabulous!
ReplyDeleteAlison x