
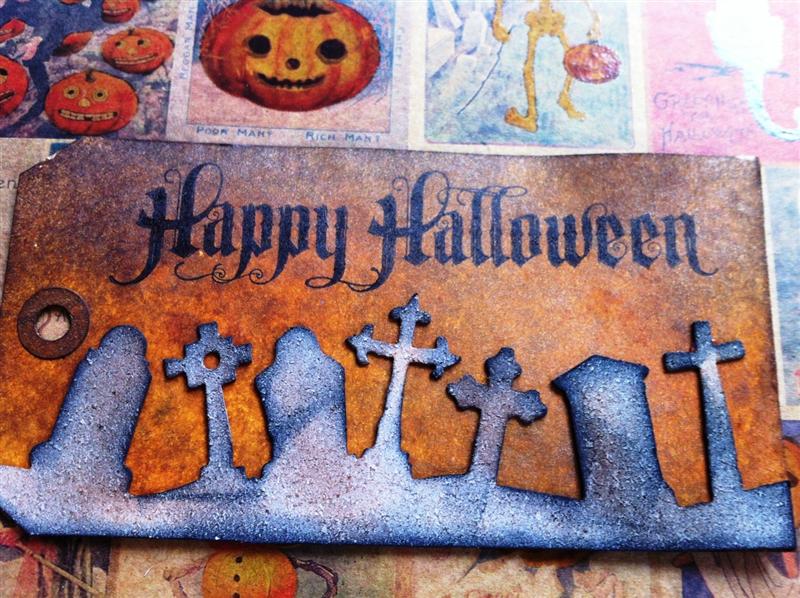
Following lots of questions I was asked to show a step by step guide for the backgrounds in my last Halloween project. They are simply a joy to make and really a matter of layering colour until you are happy with the result! I apologise for the amount of photos but it is so much easier to see what I did rather than read it!
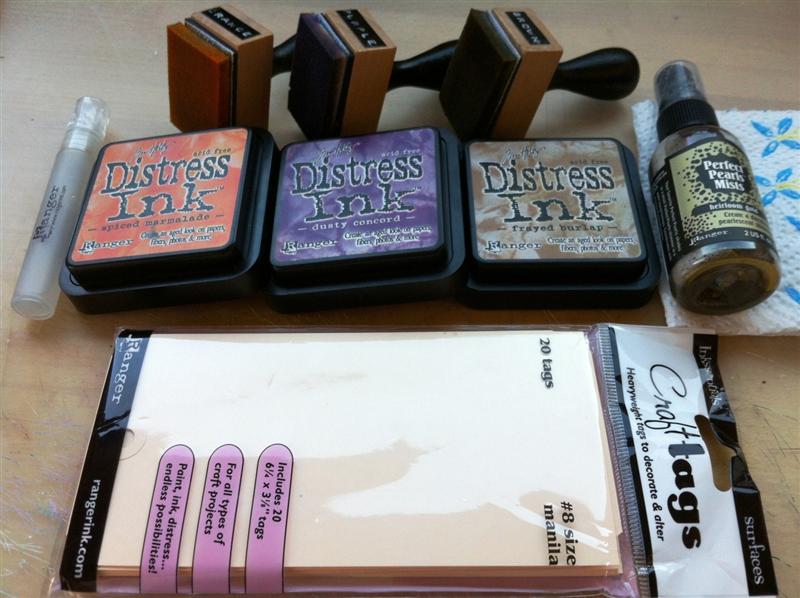
Gather your supplies! I try to get all that I will need together first so that I can get inky faster! I used:
- Ranger Tags #8
- Blending Tool
- Blending Tool Foam
- Spiced Marmalade Distress Ink
- Dusty Concord Distress Ink
- Frayed Burlap Distress Ink
- Mini Mister
- Perfect Pearls Mist - Heirloom Gold
- Heat Gun
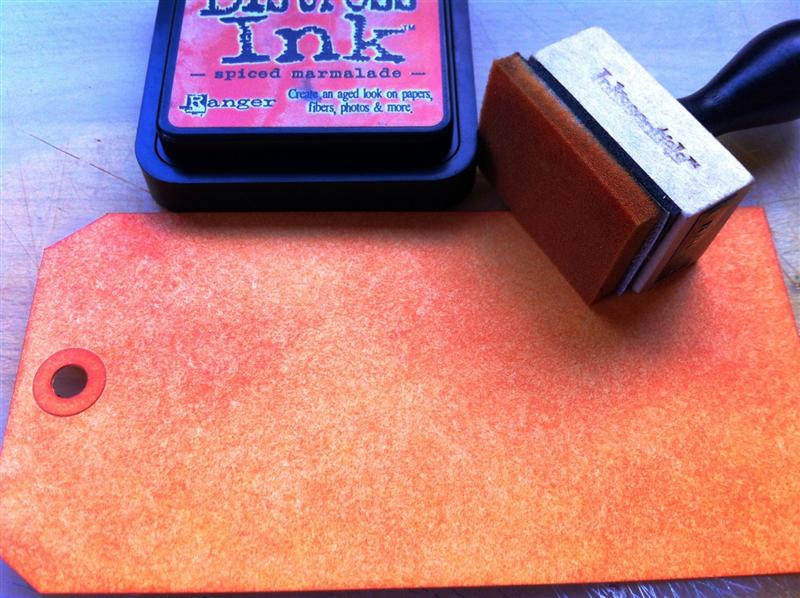
Start by adding Spiced Marmalade to the whole tag. I add a few layers so that the colour is really intense.

Add Dusty Concord to the tag - I left some of the bottom portion of the tag uncovered
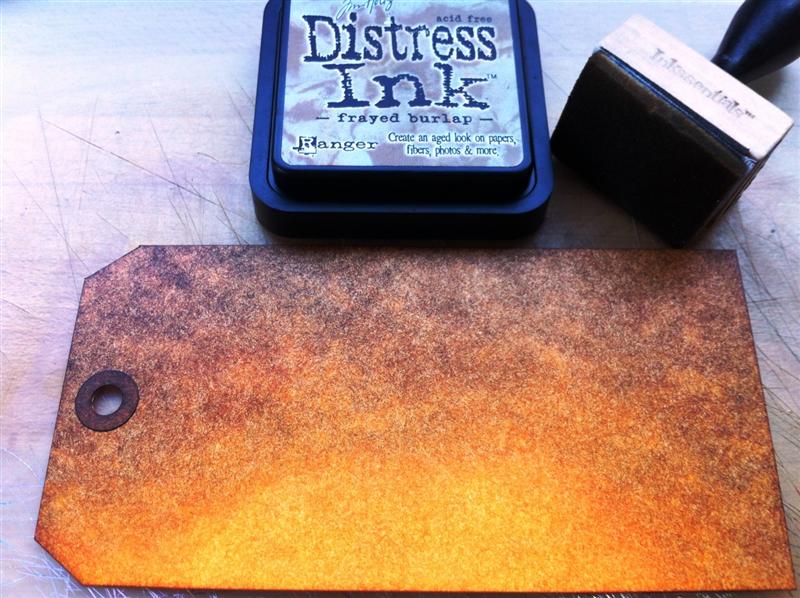
Add Frayed Burlap to the areas you added the Dusty Concord and a little into the Spiced Marmalade to create a ‘sunset’
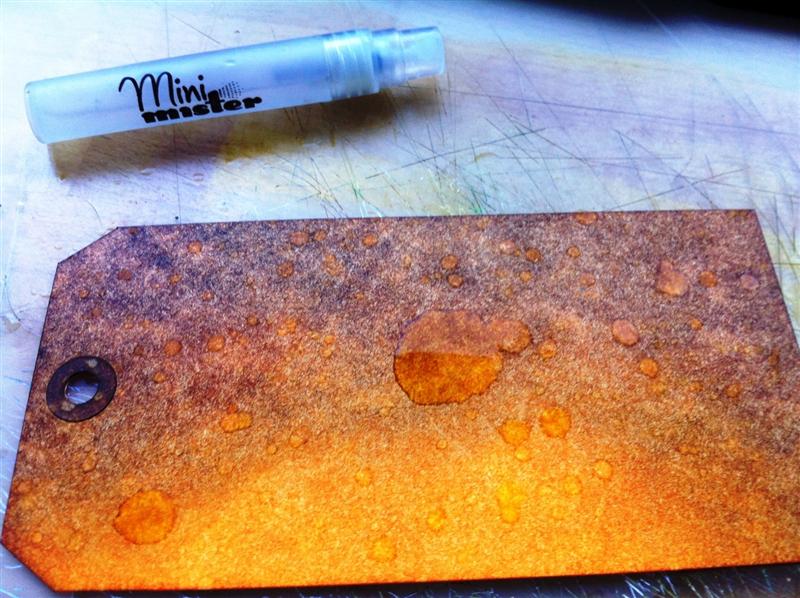
Spray some water, from the Mini Mister into your hand in a little ‘pool’ and then clap your hands together over the whole tag so that the water forms droplets on the tag. Repeat until you are happy with the effect. The water will have the effect of ‘bleaching’ the distress ink and so will leave spots behind. When you are happy with the effect heat dry the tag or dab with kitchen paper
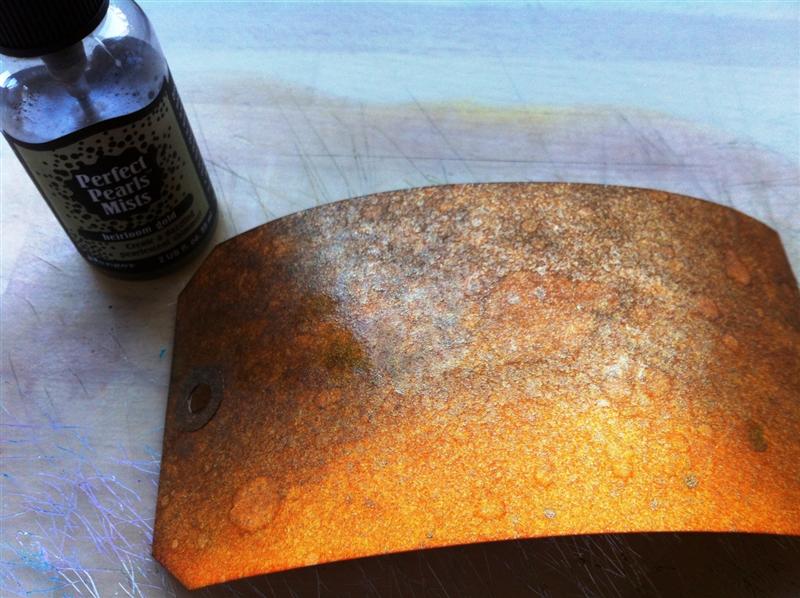
Add Perfect Pearls Mist over the top of the ink. This has two results, the first is it adds a beautiful shimmer, the second is that it too reacts with distress ink and produces new effects! I added my mist very liberally but of course you can be as sparing as you like, building up to the effect that you want. Just like with the water the ink will continue to react to the mist solution so heat dry when you are happy with the result. Don’t worry if the tag curls up - as you dry it the tag will flatten out (remember paper is porous so you may want to dry both sides if you used lots of mist or water!)
I wanted the finished result to be a little lighter so I added Spiced Marmalade over the top of the tag - the Perfect Pearls Mist will continue to be seen through the ink so don’t be afraid of inking over the top!

The grunge paper graveyard border on the original tag was simply die cut as normal and then I added Vintage Photo and Black Soot Distress Inks to areas to act as a highlight! The sentiment was stamped in Jet Black Archival Ink.
Wow! Just been having a good ole nosey at your recent blog posts. Brilliant projects and it is great that you have shown us how they were done! Well done. Great inspirational ideas there!
ReplyDeleteHettie
I knew there'd have to be vintage photo somewhere... Love this tag, thanks for sharing - and the clapping with the water is a great idea, sounds better than flicking...
ReplyDeleteFab tag Gabrielle, and thanks for the tip about clapping, I'm always a bit blob and miss with the flicking x
ReplyDeleteUp to 7 times now trying to prove I'm not a robot lol
8...
9...I will not be beaten..
it's taking the micky now