
I bought a number of calendar books this year to make my own gifts and this time I thought I’d use my ‘Noble rook’ 3D embossing folder – it’s soooo beautiful. You can use any embossing folder you like but I have to say that the Spellbinders 3D ones are well worth the small additional cost, they make such a difference!

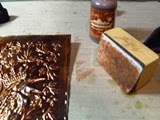
My starting point was a sheet of bronze craft metal (any make and any metal colour is fine ie gold, silver, copper or bronze) which I cut a little larger than the embossing folder and stuck the reverse (silver) side to a sheet of double-sided sticky paper:
 |  |
I ran it through my Grand Callibur but any die cutting machine will work:
 |  |
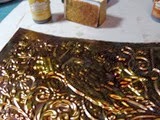
This is the result:

Now have some fun with alcohol inks - for this project I started with Rust and dabbed it all over to give an inky base followed by Butterscotch when it was dry:
 |  |  |
This is the result:
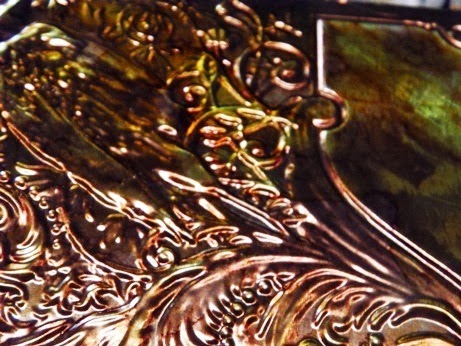
Then a good smearing with Fresco Little black dress to give a matte effect (smear on, blot off):

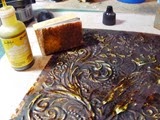
Then came the sanding block - rubbed all over. Lightly brush any dust away and apply some more Butterscotch to the sanded parts before trimming ready to mount:
 |  |  |
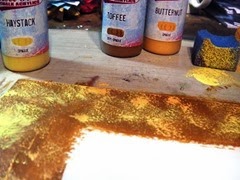
Apply a couple of coats of Toffee Fresco to the outer parts of some mountboard (thick cardboard will do) then dab Butternut followed by Haystack letting each colour dry before adding the next:
 |  |
When the board is completely dry peel the reverse side of the metal embossing and position slightly towards the top of the board (as the calendar block will be positioned underneath):
 |  |
Once the metal is in place, use a scroll stamp to decorate the edges:

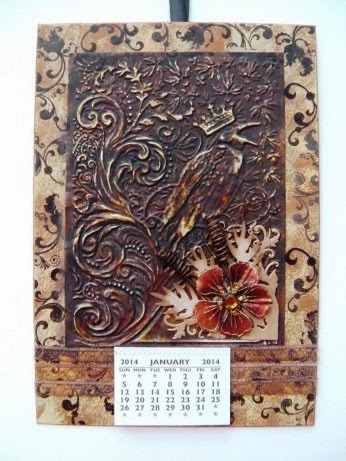
Now we can decorate the corner - you can use what you have but I've used D-Lites Fantastic flourish two, some leaves from the Thinlits Poppy flower (Susan Tierney-Cockburn), some paper covered wire stained with Walnut stain distress ink and a Prima flower:
 |  |  |
For the lace decoration I've used thin white lace smeared with Walnut stain Distress ink with my blender and then dragged through Scattered straw Distress stain and dried with a heat gun:
 |  |
You will need a strong glue (metal or all-purpose) to stick these down and use ones that won't make your inks run:

Add a loop of black satin ribbon for the hanger and glue the calendar block in place:
 |  |
The finished project:
I hope this gives you some ideas of what YOU can make. Have a great weekend,


What a gorgeous project , the detail on the folder is stunning!Love the rich earthy tens you have used, a gorgeous make x hugs x trace x
ReplyDeleteStunning project Chris! Thanks so much for all the photos and the how to's - I really appreciate seeing how you put it all together That is such a fabulous embossing folder and I love the lovely soft brown tones of the inks. Jennie x
ReplyDeleteThanks for the 'how to' with the metal, great idea, am going away to try it now!
ReplyDeleteGorgeous calendar Chris I adore this folder and don't use it enough!!
ReplyDeleteMaggieH
Absolutely stunning - and thank you so much for all the how-to details... sanding back I see, rather than gilding as I said over at yours - well, I hadn't seen the close-ups, had I?! Definitely one of my favourite ever makes of yours, Chris - it's fabulous!
ReplyDeleteAlison x
Fabulous Chris, a brilliant step-by-step and a fantastic outcome. Love it.
ReplyDeletehugs {brenda} x0x
Absolutely gorgeous, Chris! What a rich and elegant panel you have created. Wonderful and detailed tutorial! Love this!
ReplyDelete