
Gabrielle is back with another inspiring project, this time using some of Tim Holtz' fantastic range of stamps, which you can find on the Country View Crafts web site Here.
Over to Gabrielle:
Tim Holtz’ newly released stamps are really exciting. They offer a whole new style, much more sketchy hand drawn feel which is refreshing! However today I wanted to show you a way to use the Dragonfly stamp which I think might just become one of those ‘go to’ stamps as I can see it used in 100 different ways! I wanted to use it twice, in two different ways and so I made a little wall art.
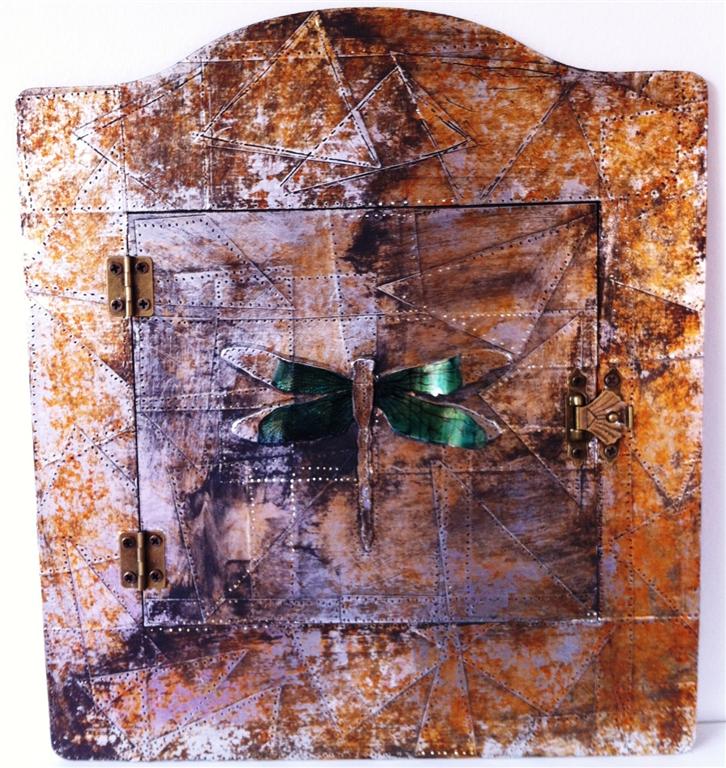
I took one of Wendy Vecchi’s Art
Part Arched Frame and covered it in small sections of metal
tape, allowing them to overlap. I used a pencil to make marks where the
overlapping metal met creating dimples. You can use metal tools but to be
honest a pencil works well! I then used Gold and Sunset Orange Alcohol
Inks over the top and then rubbed black paint over the top of that (I use
my fingers!) and wiped it away with a piece of kitchen roll. I never worry if a
little of the colour underneath is removed too – it adds to the grungy look!

It occurred to me that I could make a ‘door’ by using the
centre of the Art Part so I then repeated what I’d done on BOTH sides of the
centre piece. The only thing I did differently this time was I stamped the
dragonfly onto a piece of card and cut it out and added metal tape over the
top. This would form the basis of the dragonfly on the cover. Notice I said
both sides – this might be because I had forgotten that you’d see the back of
the door when it was opened!
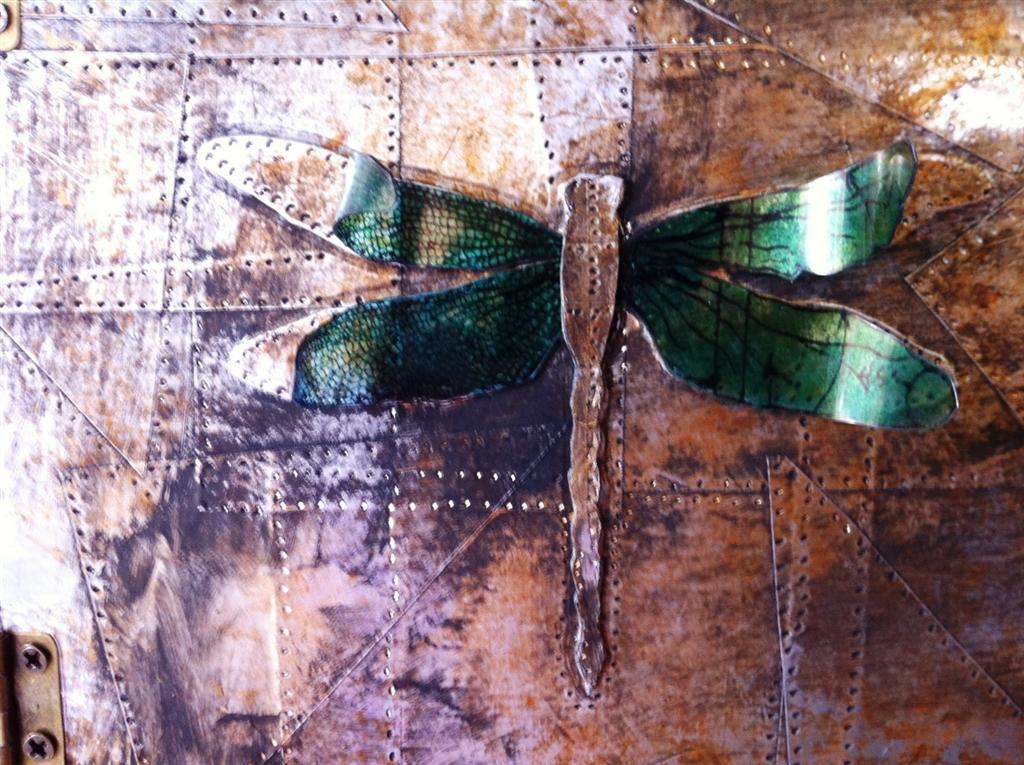
I stamped the dragonfly’s wings onto Clearly For Art and added Alcohol Inks to create the colours (Stream, Pool, Lettuce and Gold). I cut the wings out and heated them so they would curl. I covered a small piece of Grunge Paper with metal and use the techniques as before. On the reverse I stamped the Dragonfly’s body and cut it out. I then placed the wings and the body on top of the dragonfly on the door and added hinges and a ‘lock’.

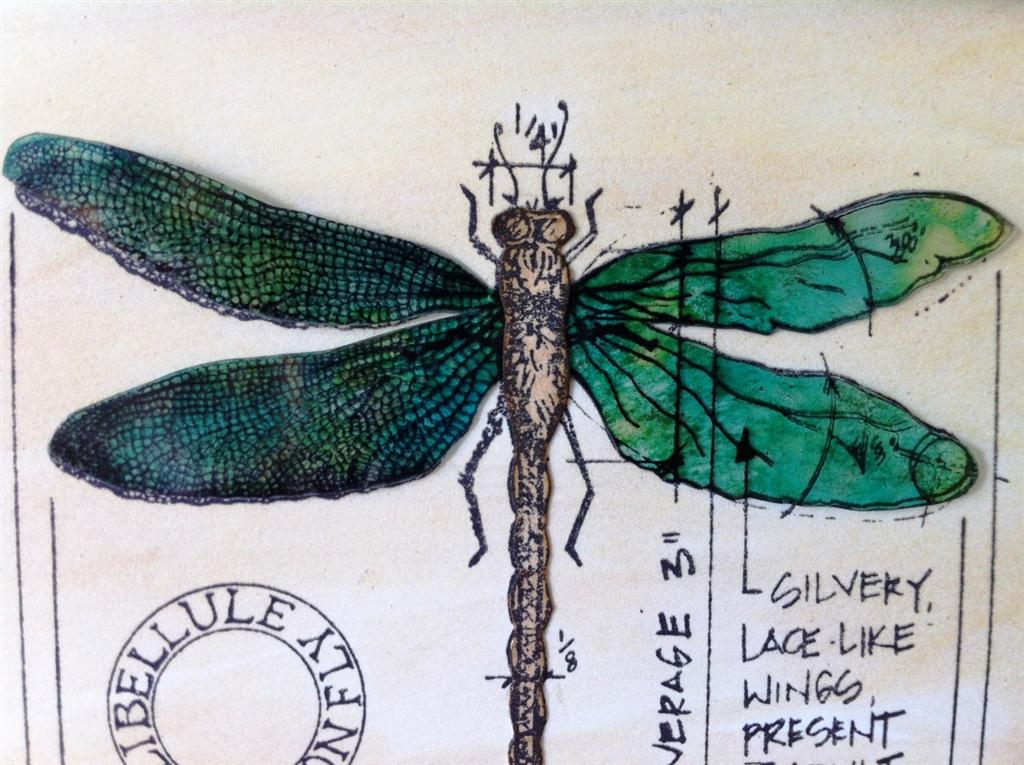
For the inside I covered a piece of white card with Antique Linen Distress Stain and stamped the dragonfly and the words ‘Artistic Journey’. For the dragonfly I cut another pair of wings as before and a body (from white card edged with Vintage Photo Distress Ink) and adhered to the stamped image. This time I did not curl the wings as the door will squish them!

I hope you like my wall art! Alternative ideas include: cutting out more dragonflies and arrange them around the frame before adding the metal tape... painting the Art Part and stamping the image several times around the edge... If you are someone who uses pens you could stamp the image and colour it in... gosh, there are so many possibilities! Thank you for joining us at Country View Crafts Blog... there’s something a little different next time!
I stamped the dragonfly’s wings onto Clearly For Art and added Alcohol Inks to create the colours (Stream, Pool, Lettuce and Gold). I cut the wings out and heated them so they would curl. I covered a small piece of Grunge Paper with metal and use the techniques as before. On the reverse I stamped the Dragonfly’s body and cut it out. I then placed the wings and the body on top of the dragonfly on the door and added hinges and a ‘lock’.
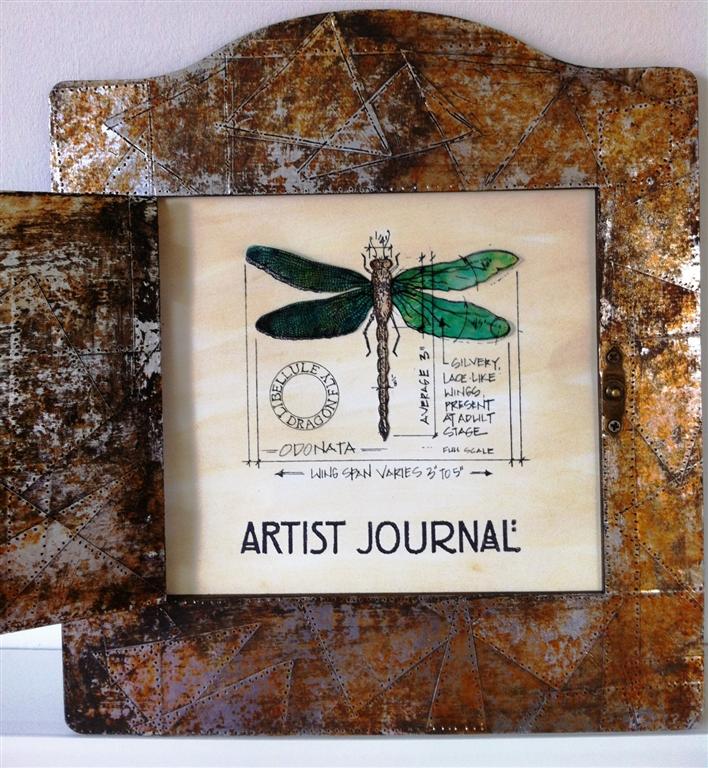
For the inside I covered a piece of white card with Antique Linen Distress Stain and stamped the dragonfly and the words ‘Artistic Journey’. For the dragonfly I cut another pair of wings as before and a body (from white card edged with Vintage Photo Distress Ink) and adhered to the stamped image. This time I did not curl the wings as the door will squish them!
I hope you like my wall art! Alternative ideas include: cutting out more dragonflies and arrange them around the frame before adding the metal tape... painting the Art Part and stamping the image several times around the edge... If you are someone who uses pens you could stamp the image and colour it in... gosh, there are so many possibilities! Thank you for joining us at Country View Crafts Blog... there’s something a little different next time!


