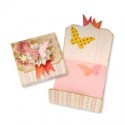
Well Trace here and for my third and final make this month I have made some little notebooks/ post it note holders that are small but make such a difference and would make a great small gift for friend..
so here they are :
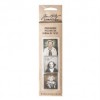
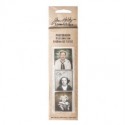
I made them using the brenda walton notelet die and they are so simple to put together and can really be embellished in whater style you like... but you know me I do love my photo booth and guess what , they are the perfect fit for these.. I wanted to try and coordinate the colours to fit how I saw the women in the photos...and also managed to make al of these quite colourful...well for me anyway x
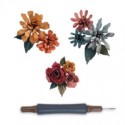
I have embellished each one with some quilled flowers using the tiny tattered floral die and some of the tiny leaves...
I added some dyed seam binding to compliment to colour and the photo booth picture and a chit chat word.
here is the inside...step x steps to follow ..
I started by die cutting the shape from card , I didn't use too tick card and it helps if you have a crease pad instead of one of the cutting pads ....as this applies just the correct pressure to cut where it needs to cut and crease where it needs to crease...if that makes sense!
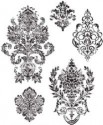
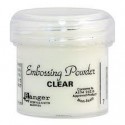
I inked up the distressed damask stamp with perfect medium and then stamped the design randomly over the surface, sprinkled on clear embossing powder and heated until the powder went clear and shiny.
(sorry about the photo)
Then it was time to add some colour...for the pinky toned one I applied some tattered rose distress ink on the outside and also on the inside, as this will be seen when the notelet/notebook is opened.
It really makes the design pop out...
here you can see the whole piece coloured and folded, ready for some added stamped detail..
For the stamping I used a text stamped, inked in similar colour as background, as it still stands out a little bit and I didn't want it to be too prominent.
here is how it looks ..sorry forgot the picture for the pinky one, so this is the antique linen one ..
For this one I also used the new distress distress spritzer to give a splattered effect, spritz the cover with water, leave for a few seconds and then heat dry...
To complete I added a hint of colour to the photo booth piece , using distress marker and then heat dried..I also scuffed the edges and sanded the edges, adding a bit of walnut stain distress ink using blending tool..
I also added some of the tiny tattered floral thinlits ..but got so carried away I forgot to take a picture!
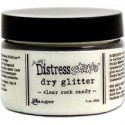
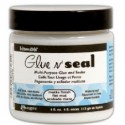
I brushed some colour over the tops, dried with heat tool, brushed with glue and seal and dusted with rock candy distress glitter. I then added these to the front with a chit chat sticker, edges swiped with distress ink too.
Finally, on the bottom opening part I tied around some dyed seam binding to form a bow.
Here is the one using antique linen, for some reason it makes me think of weddings?
And a light purple one , as it is my little Lucy's favourite colour..
This is such a versatile die and I cannot wait to play and make some in a different style..so watch this space!
keep those fingers inky!
see you soon
trace x