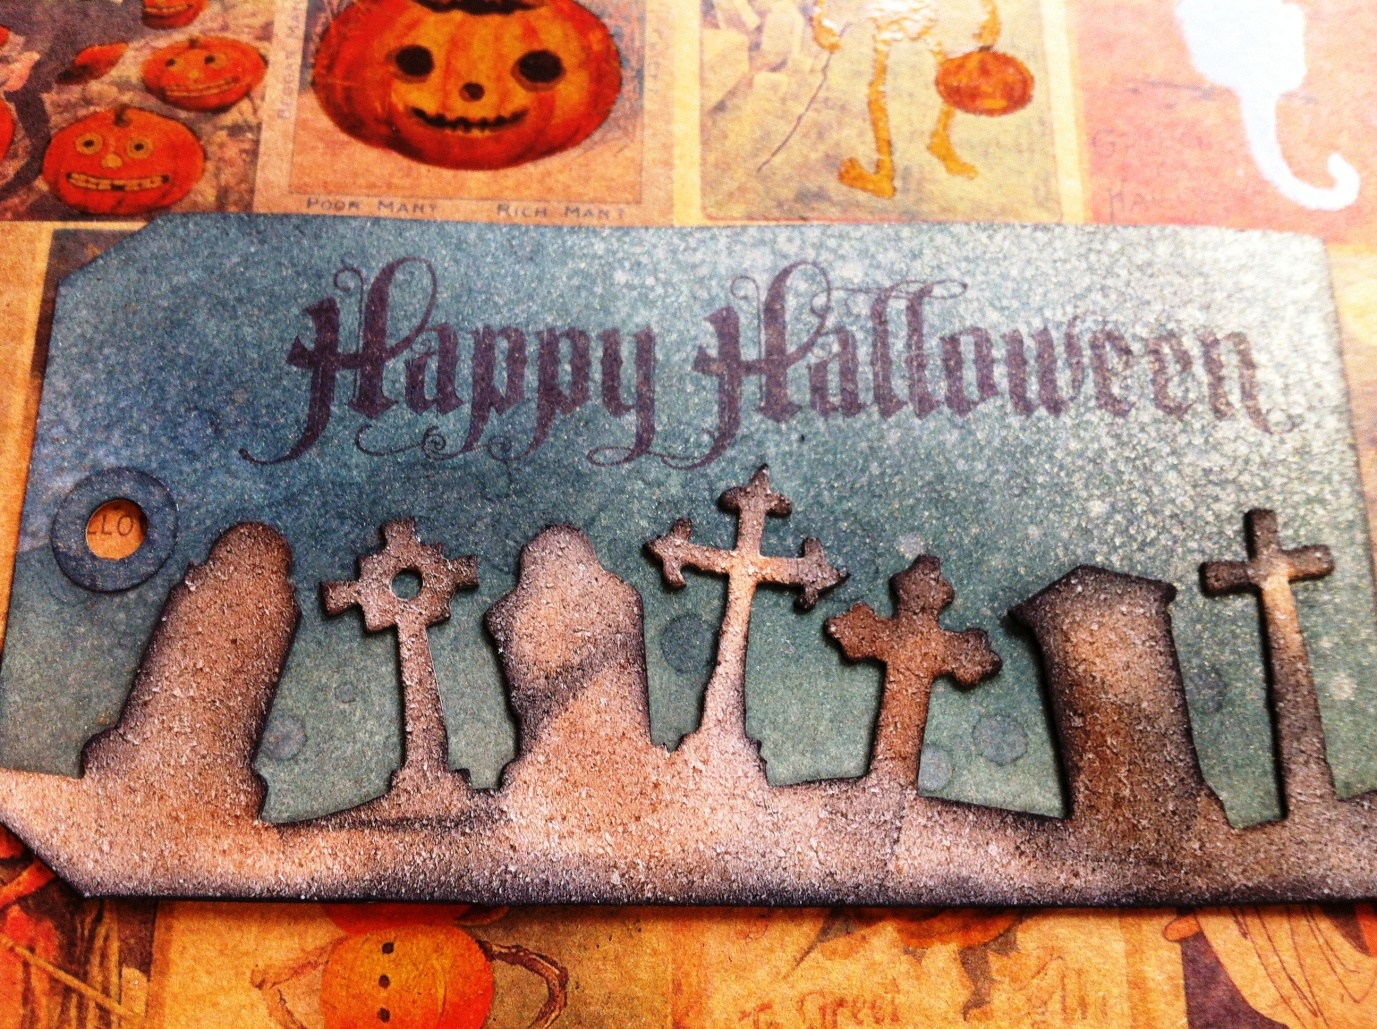
I wanted to use the Graveyard on the edge die and so I
covered a tag with various DistressInks (e.g. Chipped Sapphire, Broken China,
Vintage Photo, Black Soot, Frayed Burlap, Weathered Wood) adding layer upon
layer misting some with water to create new effects until I was happy with my
sky.
I then added a layer of PerfectPearls mist over the top which gives a really fabulous effect like lots of
twinkling stars! I cut out the Graveyard and added Vintage Photo and Black Soot DistressInks to it and adhered it to the bottom of my tag. I then added the
sentiment from the Apothecary set in the sky.
Whilst admiring my handiwork I wondered what it might
look like at sunset and so I made a similar tag using the same techniques as
before but this time using Spiced Marmalade, Dusty Concord, Frayed Burlap and
Vintage Photo Distress Inks.
Gabrielle is back tonight with the second installment of her spooky trilogy...

I have noticed that there is a trend for pop up cards
amongst some bloggers and I wanted to see if I could make one too! This is
quite a simple version!
I cut two headstones
from Grunge
Paper and had great fun covering them with
many layers of Distress
Stains, starting with Picket Fence and using pretty much all of the browns
as well as Black Soot Distress
Ink. In between layers I misted
them with water to create the impression of them being weathered! For the front
I wanted to keep it pretty plain so I cut out RIP using the Word
Play die and Grunge Paper and inked them as before.

For the inside I stamped the front of the other
Tombstone with the script stamp from the Apothecary set and the ‘Happy
Halloween’ sentiment on the reverse of the first tombstone. This needs to
be upside down so it shows correctly when opened!

The skull
was stamped onto white card and inked with Antique Linen Distress Ink before
being misted with water to give it a little patina. A final mist with Perfect
Pearls Mist and it was finished! I then
added a little strip of Grunge Paper to the back so it ‘pops’ out when opened.
Thank you, as always for stopping by! We really appreciate
it!
We have an extra special treat this week as Gabrielle gets the creative juices flowing with not one, not two but three Halloween themed projects. We'll post one tomorrow (27th Sept) and one Friday (28th Sept) and here is the first one...enjoy :-)
Halloween has come early in my house and I have been playing with some of Tim Holtz’s new dies and newly released stamps! I’ve made a few projects as once I’d started I couldn’t stop so this is the first!
I wanted to use the fabulous Bell Jar die and so Cut the base from Grunge Paper and the ‘glass’ dome from the packaging the die came in. I then added Vintage Photo and Black Soot Distress Inks to the base and covered it with a thick layer of Rock Candy Distress Crackle Paint and let it dry.

The dome I added black ink to the sides to make it more visible from the background. I cut a portion of the graveyard die from Grunge Paper and covered it with Vintage Photo and Black Soot Distress Inks as before. I stamped the Halloween ticket from the Odds and Ends set onto a little more Grunge Paper and covered with Spiced Marmalade Distress Ink. The skull was stamped with Jet Black Archival Ink onto shrink plastic and shrunk with my heat gun. I find shrink plastic fascinating as you are never quite sure of the result you’ll get! I then punched a hole in the ticket and skull, added eyelet and a jump ring and tied it to the top of the Bell Jar with a little twine.
The tag was cut from strong card and covered with metal tape. I embossed it and covered it in Black Soot and Sunset Orange Alcohol Inks. I then sanded the tag quite hard to reveal the metal beneath the raised areas and adhered the completed Bell Jar on top.
If you are, like me, a bit of a social media addict user then why not check out Country View Crafts on Facebook and Twitter? You’ll get to see sneak peeks of new products and other news from the team - well worth a visit!
Thank you for your lovely comments on my previous post with the new Stampers Anonymous stamps. They were lovely! I promised something a little different and I thought I might show a different way to use the new Metallic Distress Stains with masks.
The new Metallic Stains are so incredibly versatile. There are lots of ways to use them, much as you would use the rest of the stains in the range. They react with water and you can stamp with them too! There are many videos and tutorials on the internet with ways to encourage you use these stains so please do look out for them.
I started by cutting a tag from white card and adding Picked Raspberry and Peeled Paint Distress Inks. I then laid two masks from the Mini Floral Masks set over the top and misted water over the top. This left an outline where the masks had been... There are lots of different mini masks in the range - do look them out. My favourite is the postage stamp on the Best of British set - just perfect for layouts commemorating this summer’s incredible events! Why not check out the Leaves, Christmas or Antique sets too?
I then squeezed some Brushed Pewter Metallic Distress Stain onto my craft mat and painted the stain over the leaves with my water brush . For the flower I used Antique Bronze . I also added some pewter to the edges of the tag by swiping the bottle directly on the edge.
I then stamped a little script in Sepia Archival Ink and some dots in Tarnished Brass Metallic Distress Stain to finish the background. The main sentiment (from Seriously Art ) was also stamped in Sepia Archival Ink.
For the flower I used Clearly for Art and die cut a flower and added Wild Plum and Gold Alcohol Inks to it. I then curled it with my heat gun (watch your fingers!) and added the silver button centre. The flower at the top was made from floral Ideaology pieces and Paint Dabbers (Snowcap , Citrus, Silver and Gold ) with a little Picked Raspberry over the top of the white to tone it in.
Thank you for popping by and for leaving a comment. We really do appreciate your visit!
For the next page I used a circles mask and Gold Fresco Finish paint. I laid the mask on a corner and lightly sponged the paint over the top. I did this over all four corners and then moved the mask to the centre of the page and dabbed the gold paint through the mask, allowing it to blend over the edges of the areas you have already masked. The Gold paint is a little more liquid than some of the others and so it may bleed under the mask. I like this look and so never mind when it happens! As with all of the pages I sanded it and then added Vintage Photo Distress Ink. To position the stamped images, pop the cover page on the top and then position the stamps where you would like them.
The book lends itself to be a scrap book and so with these pages I thought I might show you how you can create a background just ready for your pictures and memorabilia! Having prepped the pages with Snowflake Fresco Finish paint I added Hey Pesto Fresco Finish over the top. I used the sensational A4 alphabet mask and sponged Toad Hall Fresco Finish paint over the top covering the whole page. I then nudged the mask a small way and repeated the whole technique with Hyde Park Fresco Finish paint. After sanding and adding Vintage Photo Distress Ink I stamped more images but at the edges so I could add photos another time.
To complete the back page I used the Metal Effect mask and Gold paint. The ribbons are metal tape, beaten with my Texture Hammer and dabbed with painty Cut and Dry foam. The giant hand is actually from the packaging from the mask! I stamped the images on to more of the packaging and cut them out.
This is an old project but we thought it might be of interest to Tim Holtz fans. It was made for a bookmark swap on the Crafttelly forum. I wanted to make something a little different to the usual flat bookmark but something that could still be used for its intended function.
The bookmark is made from Tim Holtz Grungeboard for durability and the 3D element at the top is made using Tim's Caged Bird Sizzix die. I cut two cages out of grungeboard and bowed them a little, grungeboard is great for this as it is very flexible and cuts nice and cleanly with the Sizzix steel rule dies. These were treated to various colours of embossing powder on both sides to create a gilded look. They were fixed to the flat part of the bookmark using simple brads covered up with some gems. The edges of the cage were then glued together giving the impression of a circular cage.
The bird was stamped with Creative Expressions Rubber Stamp Textures and slotted through the cage so it pokes out front and back. The main part of the bookmark was then distressed, stamped with Creative Expressions Rubber Stamp Textures and some embossed swirls added. Oh, and the letter L was added for the lady the bookmark was made for :-)