Today I'm sharing a shabby card but in the most unusual colours...

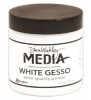
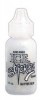
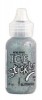
I used a large dotty stencil and Dusty concord DI to create the first step followed by some Tattered angels coloured glimmer mists sprayed over the top, (you can also use diluted Ranger colour washes or Dylusions inks). When dry, a reasonably generous coat of Gesso was dry brushed over the top:
 |  |

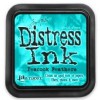
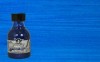
This clock stencil was used to blend Peacock feathers DI through:
 |  |
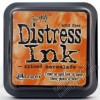
Edged with Dusty concord DI and mounted on orange textured card, also edged:
 |  |
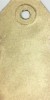
White card has been liberally sprayed with Glimmer mists to make the corners cut using this Spellbinders D-Lites corner flourish die:
 |  |
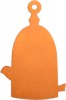
Tim's clock die has been cut from mountboard. The main part has been painted with South pacific Fresco, then edged with Treasure Gold and the clock face with Butternut Fresco:
 |  |
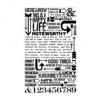
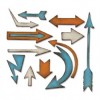
I have some of Tim's stamps in clear sets as well and the clock face stamp is one of them, stamped in black archval ink. I used an old spinners Spellbinders die to cut the clock hands and then cut them down and attached them with a brad. The arrow has been cut with Tim's arrows Bigz die and coloured card then edged with the Dusty concord DI:
 |  |
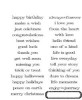
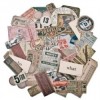
I chose some of Tim's Idea-ology remnant rubs and ephemera to decorate the card too and then stamped the "life moments" from Tim's Simple sayings stamp set with black archival ink:
 |  |
Left side:

Right side:

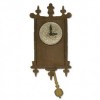
Complete:

Unusual colours but a nostalgic card perhaps.
Have a great weekend! >:o)
Chris xxx