Showing posts with label Texture Paste. Show all posts

Sunday, 16 April 2017

Hippity Hoppity

So Trace here today with some Easter cards that I have created using lots of yummy distress oxides and lots of other goodies..


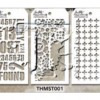
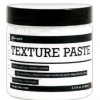
I started by applying some matte texture paste through Tim Stencil, no 034 and leaving to dry. I applied at top and bottom of piece of card to fit card front in opposite corners...I love the crisp design it creates .


So I will carry on with all the details for the orange card and all the steps are the same for the greeny toned card and the tags  - yes I made matching tags too...


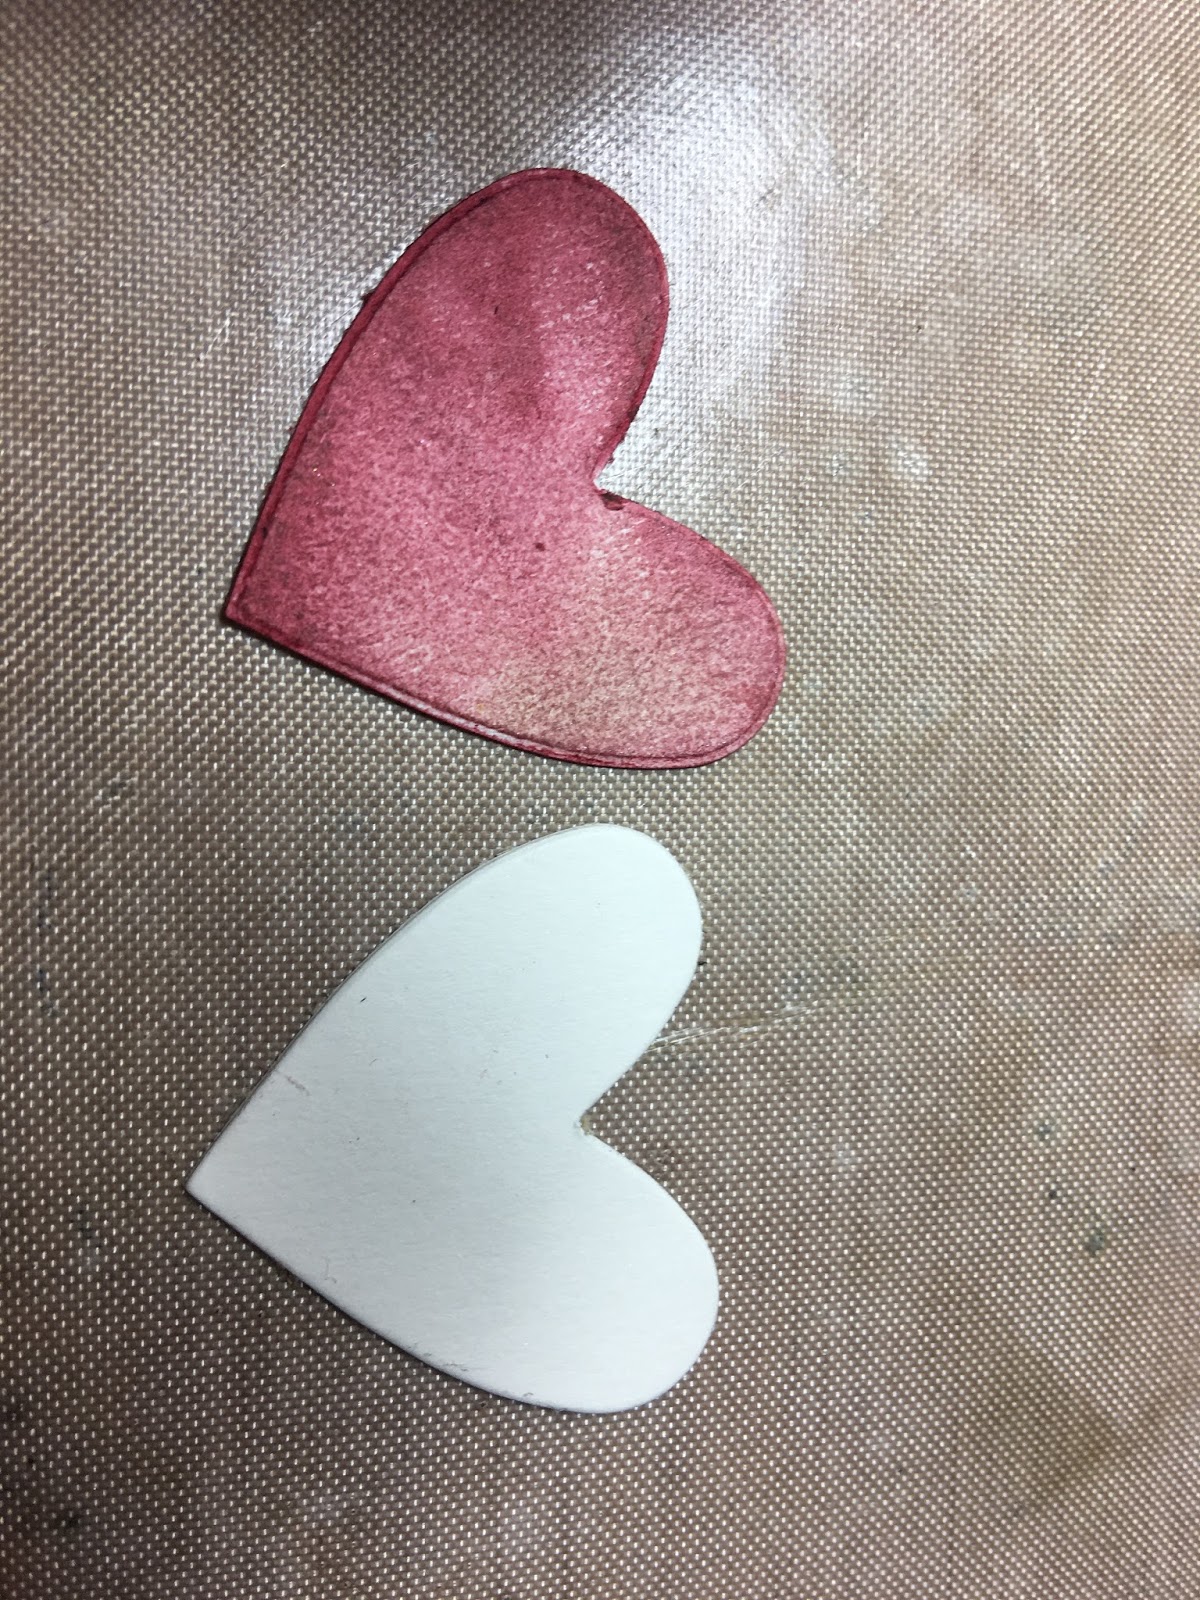
I started by smooshing some distress oxides onto my craft sheet and spritizing with water..( here I used worn lipstick,fozzilised amber and spiced marmalade ditress oxides )


I swiped my card through and dried, spritizng with a little water and repeated this dipping and dabbing and drying between each layer, spritzing a bit more water until happy...I just love how the colours layer and the effect of water is something special!


I used the left over oxides to dye some seam binding, spritzing, dipping in left over colour and scrunching in a ball, leaving overnight to dry as I like the crinkle you get but you can gently heat dry if you're in a rush.


For the green colours I used peeled paint, fossilized amber and a smidge of cracked pistachio distress oxides.


Mr Bunny was cut from a movers and shapers Tim Holtz die and covered with a layer of grit paste which I dabbed my palette knife into to create texture...once dry he was coloured with ink and distress crayons and his little bow added.


The flowers were cut from a piece of card already coloured with the same technique using the distress oxides as for the card from without texture paste ...I then used the new Tim Holtz thinlits - small tattered florals die cut lots of flowers and leaves that were edged with brown distress ink.


I added some distress ink in brown to the edges of the card having added coloured panel to card front, I used ground espresso distress ink.


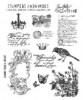
To completed the card I added a stitched oval piece, also coloured in same way, Mr Bunny, the hand dyed seam binding and the flowers and leaves with potting soil enamel accents for centres and finally a stamped greeting using black soot archival and Tim Holtz crazy talk stamps..


and here is the completed green tones one...


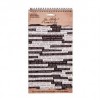
I also made some matching tags , minus the paste in the same way ...


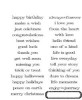
And people are always asking how I use my tags ...so here is how...this was part of an Easter gift for my Mum and Dad...and I think the tag looks so much nicer than a bottle bag...


so there you have my Easter makes
Have a Happy Easter

trace x

Thursday, 2 March 2017

explore, dream, discover

Well like lots of others I have been eagerly waiting to get my inky paws on the new distress oxides from the one and only crafty master , Tim Holtz. So have been playing with some backgrounds (which I will share later ) - I then wanted to make a finished piece.

So here is the result , and a card too :


I started by applying texture paste through the flourish stencil in both corners of the card and left to dry . I then applied the inks to the craft sheet ( sorry so excited I forgot the picture ) - spritzed and then dipped the card and dragged through. I then heat set, spritzed and re dipped , the more you spritz the more the distress oxide magic appears...
they're amazing!!


The colours I used are walnut stain, vintage photo and broken china distress oxide inks.

I wanted to use the same inks to colour the bird stamp, but know that you shouldn't drag one colour distress oxide through the other as to try not to contaminate the pads ...so I inked the bird stamp with broken china and then applied the vintage photo ink using a blending tool , to get a double coloured image.


I spritzed the bird image and dried and then spritzed and dried again...the oxidized effect 
gets greater the more water you add ...it is truly amazing!!

Here are some of the close ups


To allow the bird to stand out I glued some bits of mdf on the back as this raises it up.


I finished the card off with some hand dyed seam binding...( used distress inks for these ).


I added a word band and coloured the letters using distress crayons in tumbled glass and frayed burlap.


I added a chit chat sticker, with inked edges and added to the right hand side


I love these colours and  the distress oxides are just amazing - cannot wait to play some more.


So hope you like my first foray into distress oxides ... 

trace x


Tuesday, 14 February 2017

Happily Ever After

Well Trace here , it has been a while, but Susan said I can post here as and when .... I know it has been a long as  and when , but hopefully better late than never ...

So here is a vintage inspired Valentines , using lots of yummy distress goodies and distress crayons, I know late to the party but I am loving playing with them ...

So here is my make :


I love the vintage feel that the found relatives   give ( not sure which set this is from as I have all mine muddled up !) and cannot wait to see the new paper dolls from Tim , which are top of my list!

So I started by applying matte texture paste through this gorgeous Tim flourish stencil and allowing to dry . I then coated the card with  collage medium and stamped some random patches of script using grey archival ink.


I then started to apply patches of distress crayon, starting with antique linen , and rubbing in with a damp finger.
I then built up the colours using frayed burlap and walnut stain.


I die cut two hearts and coloured using distress crayons , in barn door and fired brick and edged with walnut stain distress crayon.


To complete the card I added the found relative card which has some tissue tape stuck on , as well as a chit chat sticker . I tore the bottom and edged with distress crayon and walnut stain distress ink. I also lightly sanded it and added some ink as I like the extra distressed feel it creates but this is totally personal choice.

I added the hearts and lifted one slightly to create dimension and also added an idea-ology number plaque.


To complete the left hand side of the card I dyed some seam binding using distress stain, scrumpled and left to dry , then added the the card and tied in a bow. ( you can heat dry the seam binding but leaving scrumpled overnight gives a crinkle that I prefer )


So there you have my first post in a very long time...a vintage valentine x


Hopefully I will be back soon !

all the products used are in Country View Crafts .

keep those fingers inky!
trace x

Wednesday, 24 August 2016

Stencil Fun!

Hello! Jennie here sharing a few cards made with my (ever growing stash of) stencils!

When stencils first started appearing I was actually rather scared of them but amazingly I wouldn't be without them now. Once I learnt how to use them in layers over the top of each other using either inks or texture paste I have really enjoyed using them.


So here are a few cards and step by steps using the layering stencil process.


I really like creating cards using ATCs. They are a great size for experimentation and sit well on a blank white card as a little note or thank you card. I used the Wrinkle Free Distress Technique to get some colour on this matt ATC - I used Blueprint Sketch and Twisted Citron (I really love this combination!).


I used a layering stencil and the same coloured inks to create the first layer.


And then a number stencil and there are a few dots in there too from another one!


After adding a little text stamping with Blueprint Sketch Distress Ink I used another stencil and texture paste as a final layer. I love the white paste layer but it does pick up a bit of ink too which makes for some interesting colour.


I finished this ATC with a sentiment stamped from in Picket Fence Distress Paint on black cardstock before layering the ATC onto some more black cardstock and then my white card blank.


I thought it would be fun to try the same colours on a glossy cardstock ATC and here are the results - I think you will agree quite different!


I love the way the initial stencil layer looks almost 3D.

So ....... a girl can't have enough stencils! well this one anyway!

Thank you so much for joining me today.

Jennie x