Tuesday, 11 December 2012

Snowman's Ticket by Gabrielle


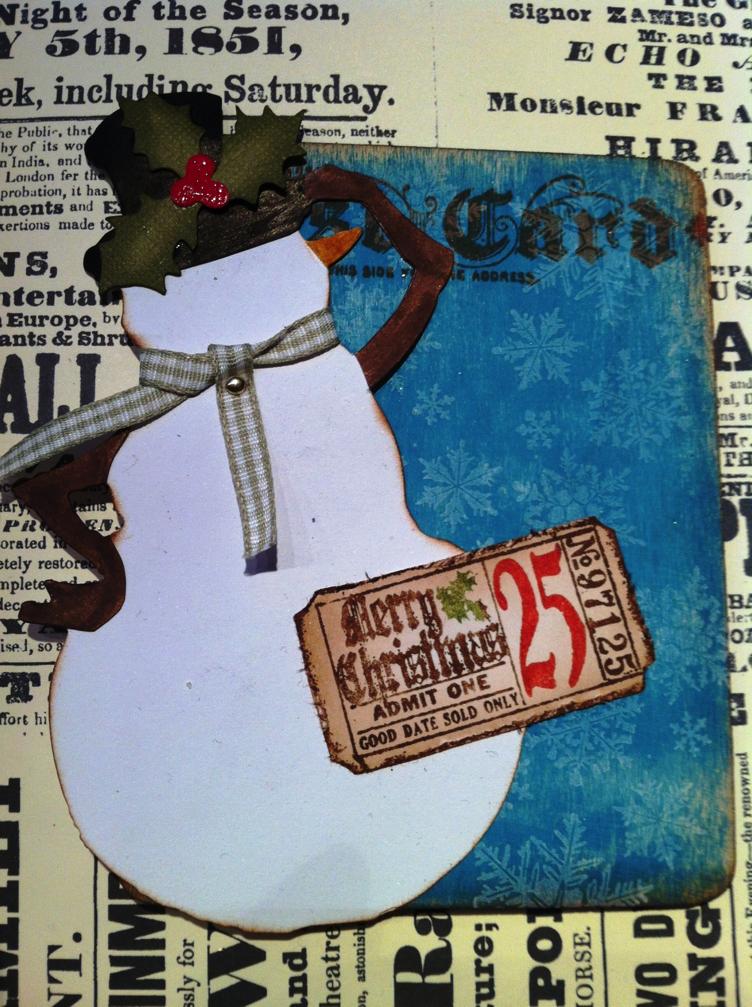
I couldn’t resist making a snowman. I love snowmen - they are made by people having fun and they stand like silent guards marking the spot where they were created!

For my snowman I simply cut him out using the fabulous Tim Holtz die and coloured him in with Distress Markers (Spiced Marmalade, Vintage Photo, Black Soot. I edged the whole shape with Vintage Photo Distress Ink. The Holly on his hat was made using the holly from the Holiday Lamppost die and scraps of Tim Holtz Kraft-Core Core'dinations with a little Glossy Accents on the berries! The holly leaves have Pine Needles Distress Ink on the edges to give a little shadowing. I added a little ribbon as a scarf and secured it with a brad. 
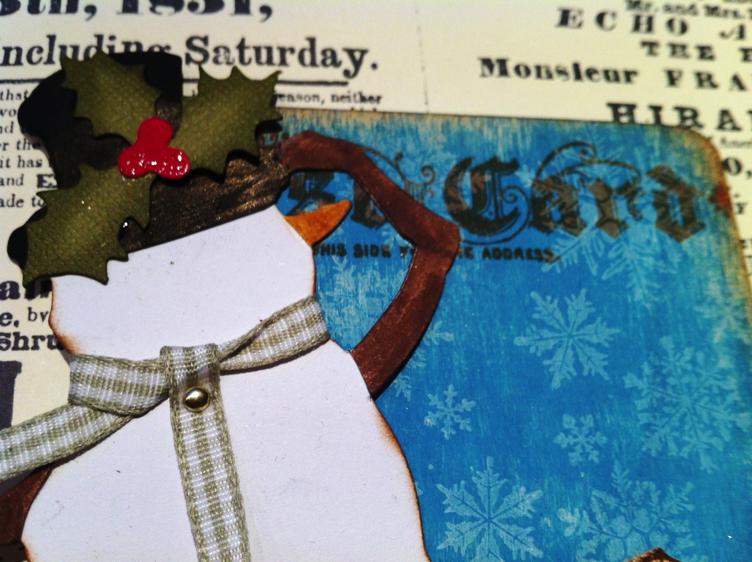

The background is actually a wooden blank that I painted in Beach Hut Fresco Finish Paint and sanded and then stamped the snowflake stamp on with Snow Cap ink. The ‘postcard’ was stamped in Sepia Archival Ink and then I edged the board with Vintage Photo Distress Ink. 


The ticket was stamped using the Christmas stamp from Tim’s incredibly useful Odds and Ends collection. I coloured the stamp with Distress Markers (Peeled Paint, Barn Door, Vintage Photo) “huffed” on it and then stamped it on white cardstock. To “huff” on the stamp really just means breathe on it - as you ‘colour’ with the pens they start to dry and by breathing on them the moisture in your breath moistens them again! I cut it out, distressed the edges and added more Vintage Photo Distress Ink. This could easily be a quick and easy Christmas card or decoration!

Saturday, 1 December 2012

Advent Calendar Daily Specials


At Country View Crafts we're celebrating the run up to Christmas with a fantastic special offer every day. Just visit the website and click on the advent calendar to find out what's behind it. Each offer will only be available foe one day so be sure to check back daily for the next one.

Saturday, 24 November 2012

Giving Thanks by Amanda


Product Focus: Sizzix Inkable Embossing Plates, DCWV Papers, Distress Inks

Before I discovered scrapbooking, the number of birthday and Christmas cards I needed was nowhere near enough to satisfy my crafting addiction, so I became very polite, sending thank you cards for everything!  It’s a type of crafting I still love to do, as you have so much freedom about design and, as thank you cards are no longer really expected, they’re always such a lovely surprise to receive.  Unlike other cards, thank you notes are made after the event though, so I try to keep them simple, or it takes me so long to get them made that nobody can remember what they’re for! 

If you have some special people to thank, why not give these quick designs a go?  I’ve used some gorgeous Sizzix Ink-Its Letterpress Plates to create some quick textured cards that you can use for any occasion.  These plates are especially good if you like the look of stamped images, but are not a confident stamper, as they give a similar finish, but with the added special detail of light debossing.  I’ve teamed these with some beautiful DCWV papers that need little or no embellishment.


 For this card I’ve used coordinating papers from DCWV’s Nana’s Nursery mat stack for the background and main image.  For the middle layer, I’ve embossed with the Craft Concepts Hexagon Illusion embossing folder (hexagons are so trendy at the moment!) and then rubbed over with Dusty Concord Distress Ink to really highlight the texture (and to add purpleness of course J).  For the main image, I’ve used the Ink-Its Flower Vine Letterpress Plate, inked up with Broken China Distress Ink, and then painted in with a damp paintbrush dabbed onto the Dusty Concord pad.


 My next two cards use the beautiful Sizzix Ink-Its Rustic Elegant Flowers Letterpress Plate.  I really love this design, and it’s so flexible, as you have the bird detail and the main image, which can be cut down too.


 For the square card I’ve inked up the plate with two colours of Distress Inks (Peeled Paint and Tea Dye) before embossing on white card and trimming round.  The background is two coordinating papers from the DCWV La Crème 12x12 stack.


 For the A6 card, I used the DCWV Garden Party 12x12 stack and again inked up in two colours of Distress Ink (Peeled Paint and Worn Lipstick) before trimming round and cropping.  I’ve then distressed it and highlighted the texture by dabbing Vintage Photo and Worn Lipstick Distress Inks onto a craft sheet, misting with water to mix them, and blending onto the card with a piece of Cut n Dry stamp pad foam.  I’ve finished the card with a butterfly cut from one of the Garden Party papers.


 I’ve used the Letterpress plates with my Big Shot: you’ll need all the layers of the Multipurpose Platform (Tab 2), but only one cutting pad from a pair. I hope you enjoy playing with them!

Thursday, 22 November 2012

Alterable Advent Calendars


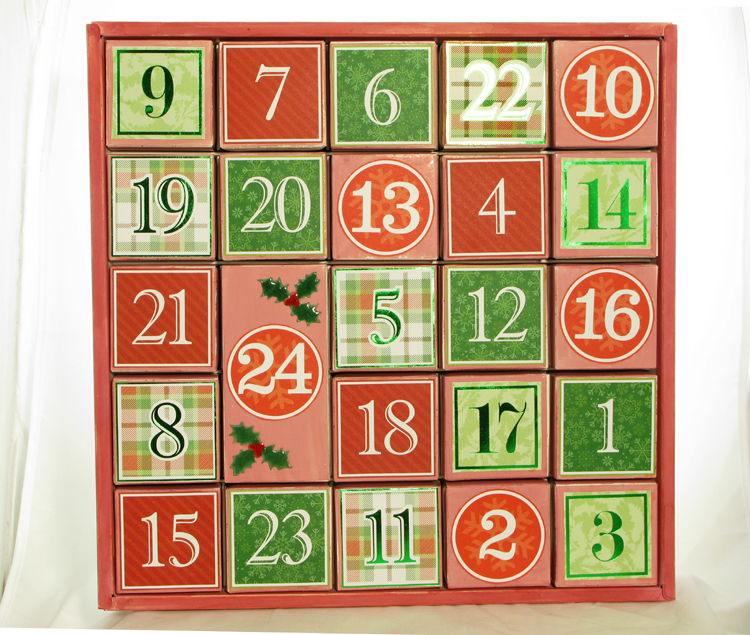
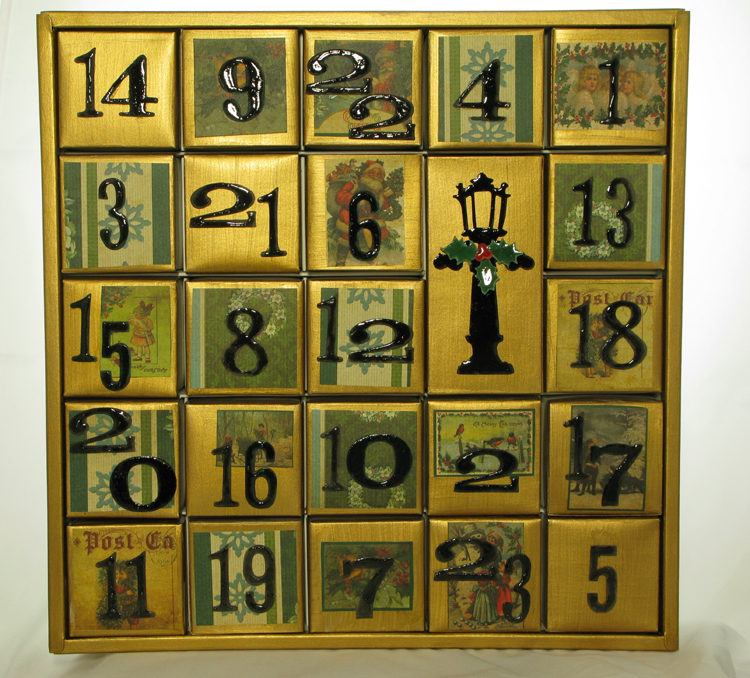
Here are a couple of Alterable Advent Calendars ready to be given on the 1st December. These are great as the boxes are quite large (6cm x 6cm square boxes) and can fit more than just a chocolate inside. The kit comes as an assembled frame containing the 23 square boxes and one double rectangular box.


I decided I had to use up some of my paper stash and I found last year’s DCWV and Marianne Design Specialty Paper Pads. I painted one Calendar with 2 coats of Fired Brick Distress Stain and cut out one of the number pages from the DCWV stack, stuck them on the boxes and then used 2 holly die cuts from the Sizzix Tim Holtz Lamp Post Die. Inked the holly with Evergreen Bough Distress Ink Pad and the berries with worn lipstick distress ink pad, these were then covered with Glossy Accents and stuck to the calendar. 


The second calendar was painted with the Viva Décor Gold paint. I chose one of the pages from the Marianne Design pad this had lots of small vintage Christmas pictures on that I cut out and glued onto some of the calendar boxes. Using the Sizzix Tim Holtz Word Play Die I cut out the numbers from Kraft Paper and inked them with Tim Holtz Black Soot Distress ink. 


I also cut out the Sizzix Tim Holtz Lamp Post – this was slightly too long for the calendar box so trimmed near the top of the post where the join would be covered with the holly & berries. I stained with Black Soot distress stain and then used Glossy Accents. Glue the numbers and lamp post onto the calendar.


Monday, 12 November 2012

The Gift of Die Cutting! by Gabrielle


I absolutely love die cutting. I love how you lay a piece of paper on top of a die and when you press a button (like on my Sizzix Vagabond) or crank a handle (like on my Cuttlebug) you get a shape from the other end! It’s such a fun thing to do and best of all you can repeat it time and time again! Beats cutting out with scissors any day!

So, this is a little project to show you how you can combine a few dies and make a gift box for the ‘big day’ that seems to be coming faster and faster!


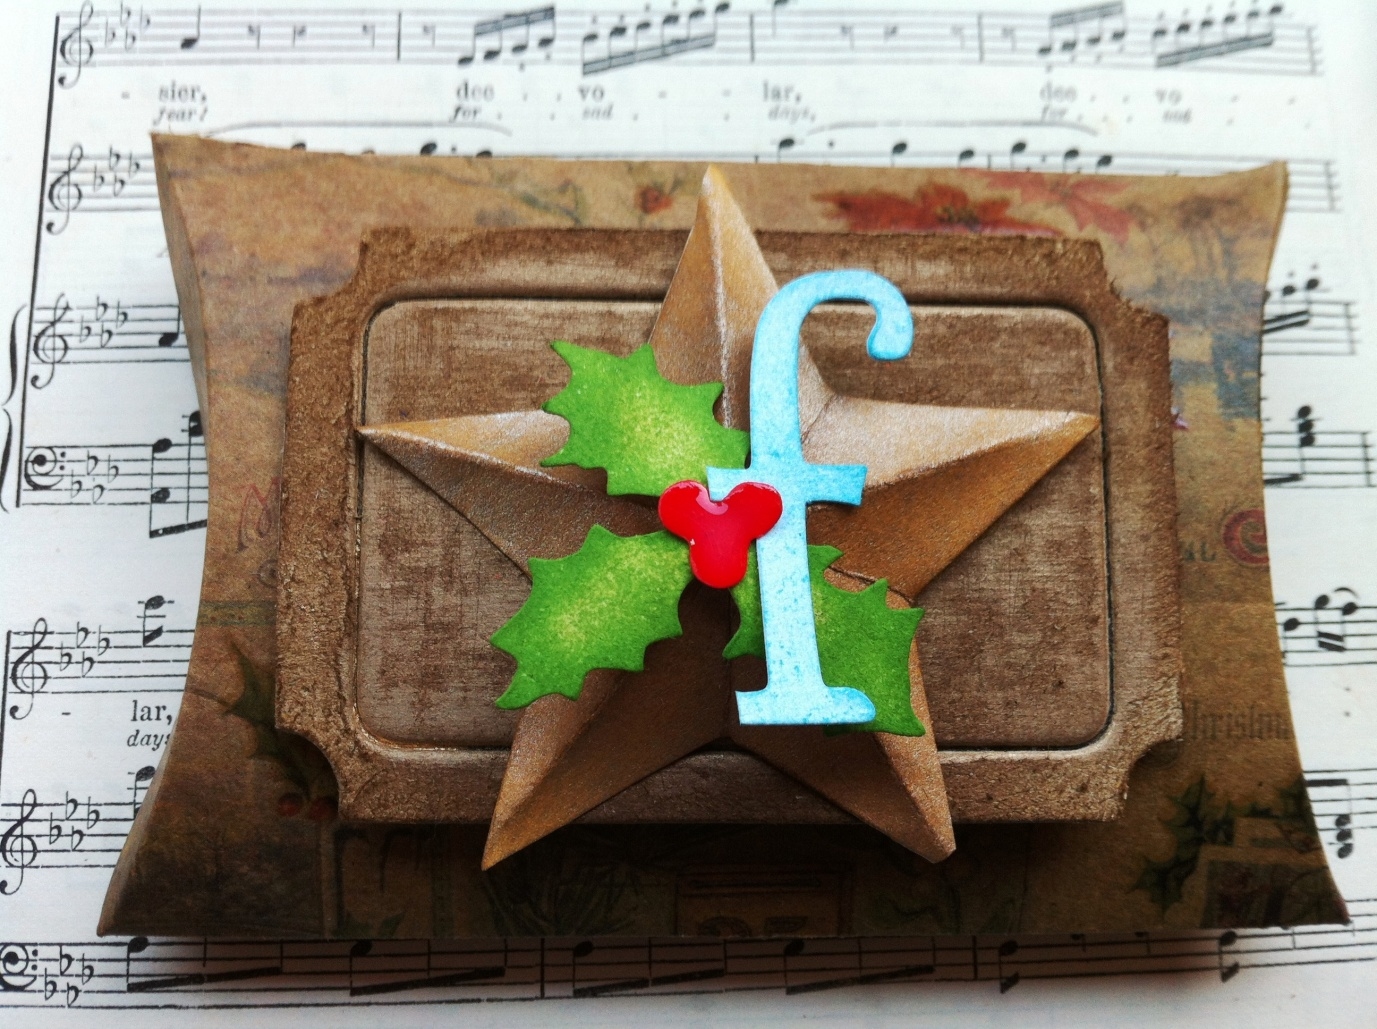
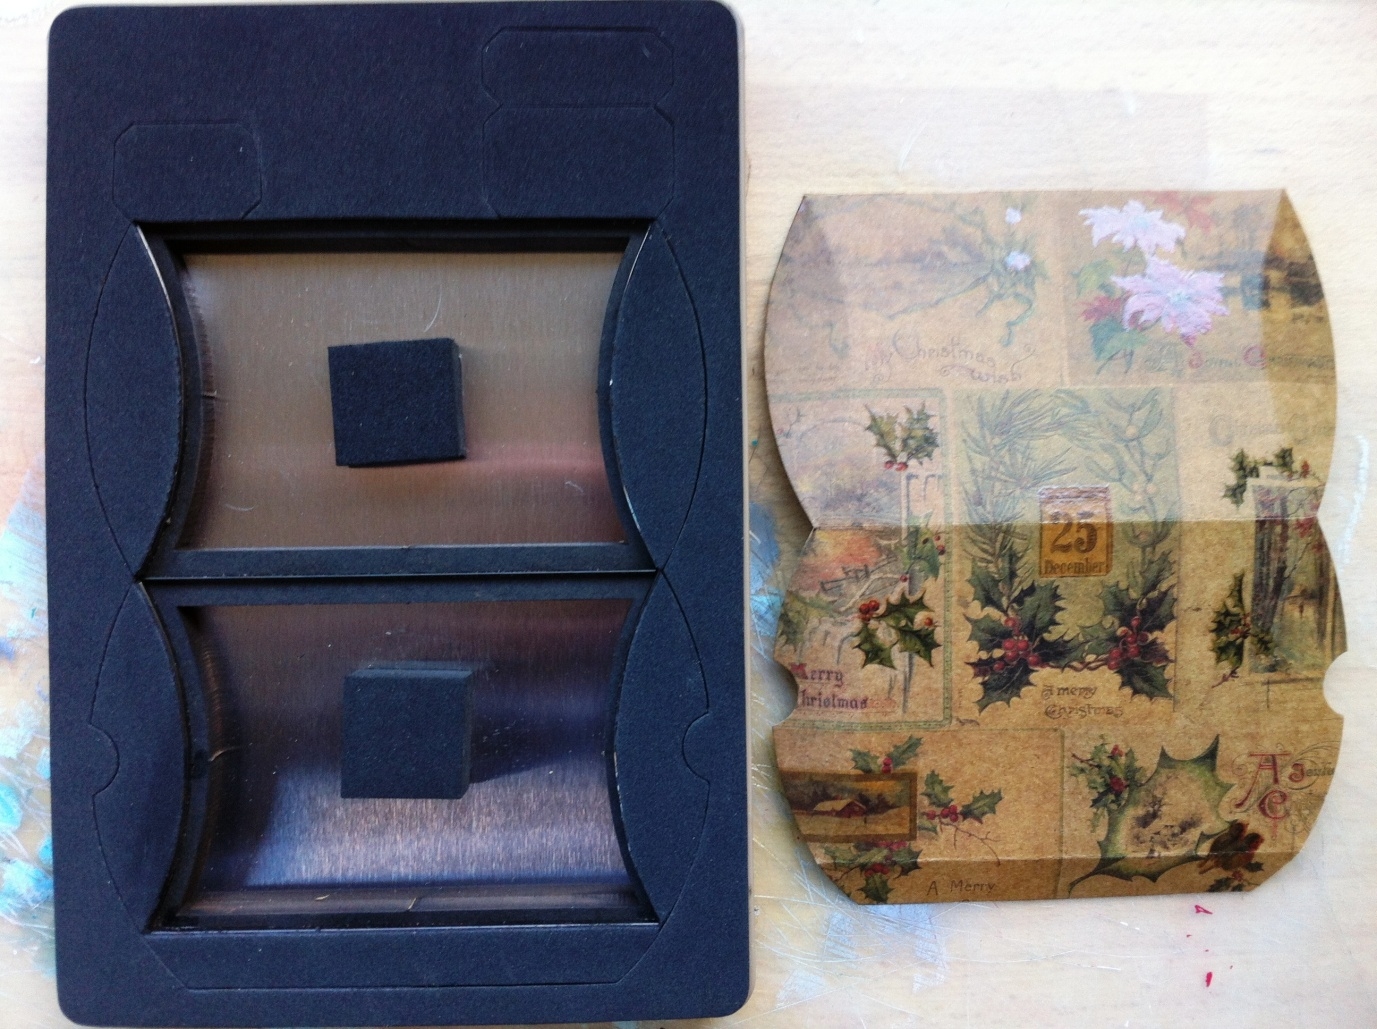
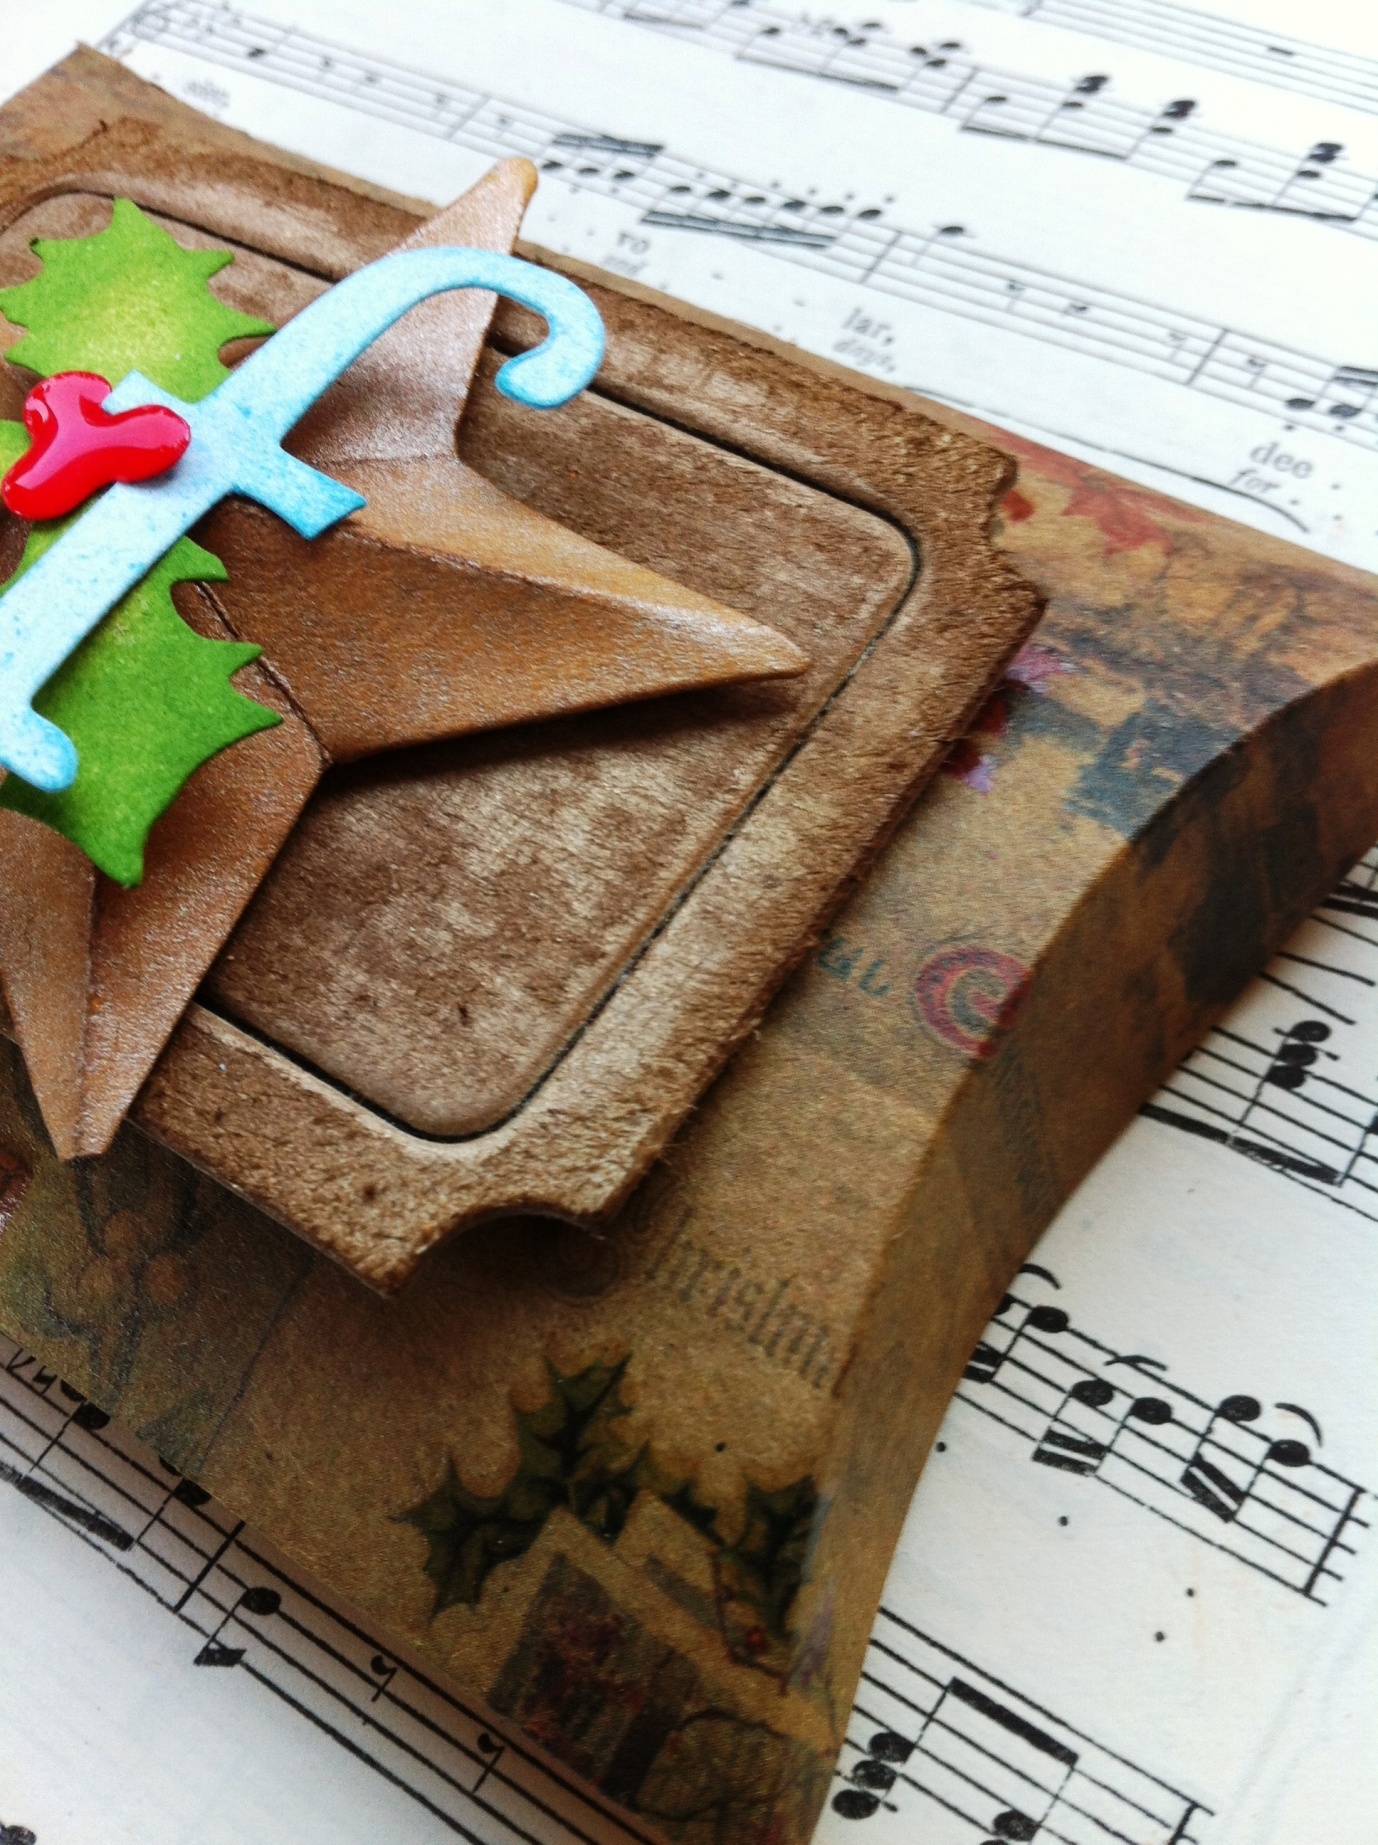
 I started by cutting a rectangle of Christmas paper from Tim Holtz’s Seasonal Kraft Resist paper and die cutting a gift box using the Tim Holtz Movers and Shapers Pillow Box die. I must confess that when I ordered it I did worry that it might make a very small gift box but actually, once it is made up, it would accommodate a fair sized piece of jewellery or small gift so I was pleasantly surprised! To get the die to crease nicely it is advised that you use a crease pad as this allows the die to cut out the shape and add nicely even score lines.


From Grungeboard I die cut out the Large Ticket. I painted the ticket with Gold Paint Dabber, sanded it back and added Gathered Twigs Distress Ink over the top. The small Star was die cut the same way as the Pillow Box and covered in Tarnished Brass Distress Stain. After I had creased the lines on the star I added Gathered Twigs Distress Ink to the creased lines to add a little contrast. I wondered how I could personalise each gift box and thought I could die cut a letter from the truly fabulous Word Play die which I inked with Broken China Distress Ink. I wanted to make the letter a little more Christmassy and so I added a little holly (Shabby Shutters and Mowed Lawn Distress Inks) and berries (Barn Door Distress Ink and Glossy Accents for shine!) from the Holiday Lamppost die.

I hope that you might try mixing and matching dies to create fabulous projects in minutes!


Friday, 2 November 2012

Movember


Do you know anyone who is growing a moustache for Movember? Why not send them a card of encouragement, we have a number of moustachioed dies and art parts for you.


And if you use your imagination you can even make a Tim (Holtz) Tash :-)


Monday, 22 October 2012

** SALE ** Viva Decor Paint & Effects

All of our Viva Decor Paint & Effects are more than 50% off. When they're gone they're gone so don't hang about.

Viva Decor Paint & Effects