Today I'm having fun combining styles and products with this 'window' card...

Starting with all the elements you need to create the scene and decorate the card: I used birds from an old Heartfelt Creations set but there are lots available in Spellbinders, Marianne dies and some laser cut shapes too. I gilded the edges of the silhouettes using Treasure Gold, brushed on:
 |  |
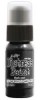
Next I cut the window parts using Tim's window and pediments dies which I painted grey by mixing the black and white distress paints:
 |  |
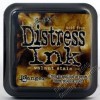
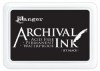
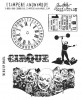
These are very old stamps but there are many similar around that you could use. (The clock face an also be found as a cling stamp on Tim's original 'The Big Top' cling stamp set - CMS074.) They're stamped with black archival ink and edged with Walnut stain DI:
 |  |
Sanded and distressed:
 |  |
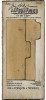
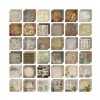
The background is one of the papers from Tim's 8" x 8" Menagerie paper stack laid over the offcut from the On the ege File tab die. The mini seed packet is from an old embellishment set. All have been edged with DI:
 |  |
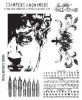
The pen nibs is another of Tim's stamps that I have as a wood mounted stamp but you can find it in his 'Artful Artifacts' cling set CMS080. I've stamped them and cut out two to use as clock hands, they've been coated with Glossy accents to make them stand out:
 |  |
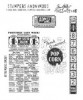
This ticket stamp can be found in Tim's clicg set 'At the movies' CMS081. Stamped with clear ink and embossed with gold embossing powder on black adds another dimension. The side 'lace' has been cut with a Tonic border punch:
 |  |
Having mounted the backing paper onto black card and cut the stamped 'view' down to size and glued it behind the window, it is now a question of layering up:

I've deliberately used the window the wrong way (landscape) to get as much of the 'view' (width) in as possible. It also puts the window embellishments to the sides of the window as they would have otherwise been covered by the window box and pediment. Before adding the window box I added a strip of card snipped all the way along to give an effect of plants. To add depth I've attached them using thick foam pads:
 |  |
A watch face embellishment has also been added, bottom left:

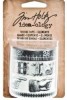
One of Tim's tissue tapes has also been added, top right. Top:

Bottom:

Done:

This would make a great card for a male friend or relative but you could adapt it for much more.
Have a great weekend and thanks for stopping by to take a look.
Chris xxx