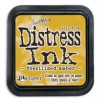
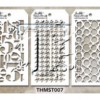
I started by layering Fossilised Amber through one of the mini layering stencils. I found I got better results with a stencil which was not too intricate.
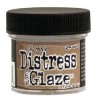
I then layed the stencil back on the tag and blended the Distress Glaze over the circles only with my fingers. You don't need much in fact a dab in the jar does about three circles and that way you get varying degrees of resist.
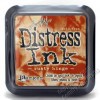
I then used various colours of Distress Inks (Rusty Hinge, Dusty Concord and Peeled Paint) and the Wrinkle Free Technique to get the ink onto the tag. You can see that the Distress Glaze has resisted the ink reasonably well, but just a little does get through which makes for a rather nice effect!
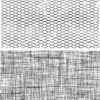
I then used Rusty Hinge to stamp the mesh stamp over the top, not pressing down too hard so it was a bit hit and miss. I really love this gorgeous inky background and have been experimenting with other stencils and getting quite different effects.
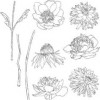
The trouble with such a lovely background is you don't really want to cover it up! So I have used minimal embellishments, painting the cone flour in a mixture of the same colours.
And finishing off with a few rub ons.
Many thanks for joining me today and I hope this gives you some ideas for another style of background for cards, tags and journal pages.
Jennie x




Thanks, Jennie. Love the technique and the tag.
ReplyDeleteFabulous Jennie, gorgeous background and the lovely flower is the perfect accent to it. Thank you for sharing it, Deb xo
ReplyDeleteThank you for the how to. This is a beautiful tag!
ReplyDeleteA great how-to Jennie. I love the wonderful colours you used in the background and so pleased you didn't cover it up too much - the flower is gorgeous! x
ReplyDeleteAutumn colours and the flower are perfect. Thanks for sharing your step by step technique :)
ReplyDeleteAbsolutely delightful xxx
ReplyDelete