

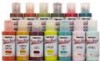
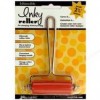
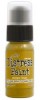
I started with a few colours of paint and my brayer and layered up the colours one at a time - they do not take long to dry! I start with opaque colours and finish with lighter or translucent ones.

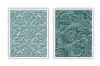
Once I was happy I cut the card to the correct size for my card and then embossed each piece with a different embossing folder. I then took a lighter colour of paint (ice blue in this case) and carefully brayered over the embossed area. My intention was to not cover the entire card but just catch random areas.

Here are the two pieces together before I started my embellishing.

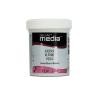
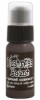
For the lettering on both cards I randomly painted / stippled a piece of card with gesso to create a little texture. I then cut my words from Tim Holtz 'Celebrate' thinlits dies. For the first card I just added a little treasure gold in sapphire. For the second card I added ground expresso and antique linen distress paints.

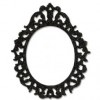
I finished my cards with different embellishments, crinkle ribbon, the ornate frame and some punched flowers pearls.


 See you next time
Nikki


Love how you create that distressed look ! Beautiful cards! Chrisx
ReplyDeleteThat's gorgeous. I have seen chalk paint and wondered whether it offers anything different. Although I have used it for furniture, I haven't tried the little bottles for papercrafting. You did a great job. How smart to paint, then cut!
ReplyDeleteooo Nikki - love the colours - fabulous!! hugs rachel x
ReplyDeleteFabulous! Love how the backgrounds are the star of the show... the brayering gives such depth and I love how you've caught the embossing with just a touch of highlighting.
ReplyDeleteAlison x
Beautiful Nikki, love the chalk paints. Deb xo
ReplyDelete