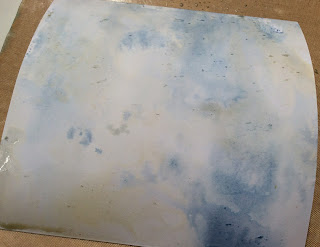
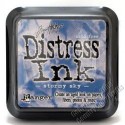
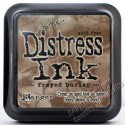
I started by smooshing some distress inks ...stormy sky and frayed burlap into my craft sheet and spritzing with water...I then spritzed a piece of card and swiped it through the inky dots..
I re-swiped until I was happy and then heat dried..
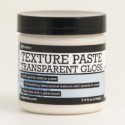
I then applied some texture paste, transparent gloss through a stencil, this one is a Tim Holtz one..
I applied in various places and left to dry
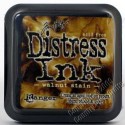
when dry I replaced the same stencil in different places on the background and added some walnut stain distress ink using a blending tool and added some more blue ink to deepen the colour.
I added to card front and inked edges using walnut stain distress ink.
For the main image , I stamped in walnut stain distress ink, which allowed me to take a wet brush and gently move some of the ink to soften the main image slightly...giving a very subltle watercolour effect.
I layered this piece onto some Tim Holtz pieces and a strip of the leftover background...adding a mini plaque and the word home stamped from same set..
Finally tying some dyed seam binding around inside and forming a bow on the front of the card ...to add a little softness..
so hope you like this card ...using simple layers
see you soon ..
keep those fingers inky!
trace x







Love your card Trace. x
ReplyDeleteA fabulous card Trace and I love the textured background and stunning colours
ReplyDeleteTFS and hugs
Annie x
A fabulous make Trace, your neutral colours work superbly with the stamp and brilliant layering. Xx
ReplyDeleteAmazing! I would never have thought of using the stamp with those colours. Well done and thanks for sharing how.
ReplyDeleteAmazing! I would never have thought of using the stamp with those colours. Well done and thanks for sharing how.
ReplyDeleteLove this!
ReplyDeleteBeautiful Trace! I love those doors and they look great given the water colour effect.
ReplyDeleteHugs
Lesley Xx
Beautiful Trace! I love those doors and they look great given the water colour effect.
ReplyDeleteHugs
Lesley Xx
Really stunning card and layering,
ReplyDeleteLucy x