
Hello peeps! Today I’m posting the festive wall hanging that I’ve made to hang as a decoration in my living room…

Here are the steps to make it…
 | Starting with some discarded cardboard packaging from a box, 3 pieces cut to a uniform size, then ‘stripped’. |
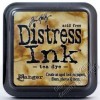
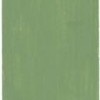
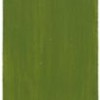
The first paint applied was a cheap, general acrylic paint in a mid-green to give it a base but then Fresco paints to give it its real colour:
 |  |  |
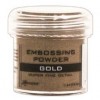
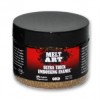
Next came gold UTEE: The UTEE was sprinkled over randomly but WITHOUT any embossing ink underneath. When I had it where I wanted it, I sprayed it with water to stop the heat gun blowing it away then applied the heat. (NB: Using your heat gun underneath the card doesn’t wok too well because the corrugation is usually too thick.):
 |  |
When you’ve done it, it will look something like the one below, I repeated this so I had three:
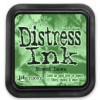
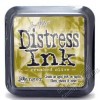
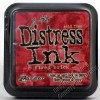
Now to the decorations… Using ShadowPress folders, I chose three, one for each ‘plate’. I coloured plain white card with Festive berries DI before debossing. After the debossing, I rubbed over the top with Fired brick DI, applied gold embossing powder and the heat gun and then fixed one to each:
 |  |

Various dies were used for the embellishments but each ‘plate’ had a piece of burlap, edged with DI, placed on it.
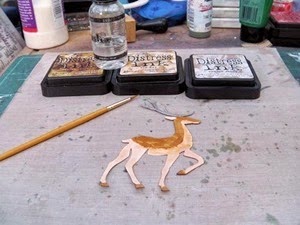 | The Prancing deer was cut and painted using DIs. |
The sleigh was cut then coloured with Festive berries DI and silver Treasure Gold. The presents are just squares and rectangles of different sized white card coloured with DIs:
 |  |
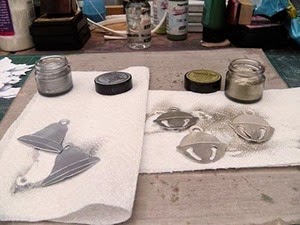 | The bells are Mini Movers and shapers cut and coloured with the silver and White fire Treasure Gold. |
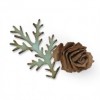
The Tattered pinecone and Holly branch dies were all cut and coloured with DIs:
 |  |
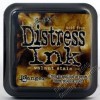
Likewise, the Tattered poinsettia, before edging all with Walnut stain DI:
 |  |
 | The poinsettia layers and holly leave were all curled before being assembled: |
| And, finally, a foliage scroll was cut (Tonic die) from newspaper: |  |
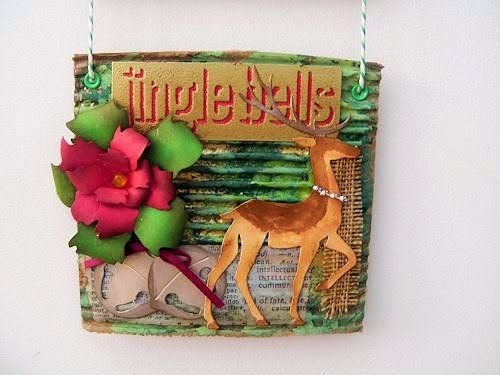
Here are the separate plates:
Top:

Middle:

Bottom:
Complete:
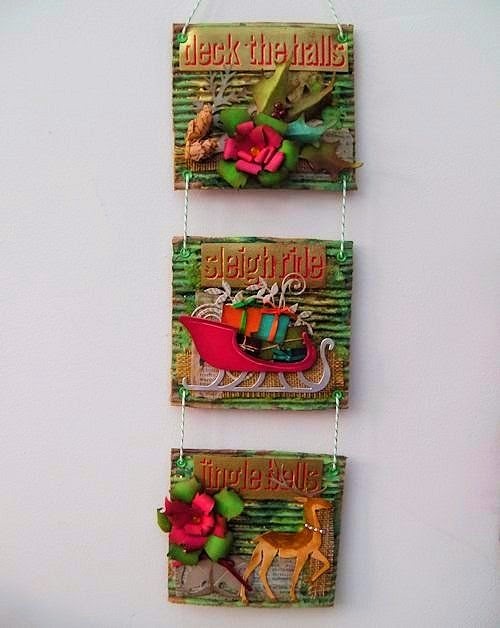
So many of my visitors have commented on this and can’t believe that it’s made from old packaging, lol. You can have fun making your own version and choose your own dies to use!
Thanks for stopping by today, have fun crafting!
Chris xxx


This is amazing! Loved seeing all the steps to perfection and the close up photos! Gorgeousness from Chris!
ReplyDeleteSo in love with those corrugated panels - an absolute Christmas treat, Chris, and a great step by step too, thank you.
ReplyDeleteAlison xx